centos7源码编译openjdk11,并使用GDB或者clion+GDB或者vscode+GDB调试openjdk11源码
源码下载
1 | git clone https://github.com/openjdk/jdk.git |
切换到openjdk11分支
1 | git checkout jdk-11+24 |
执行验证
1 | git status |

编译工具安装
1 | sudo yum groupinstall "Development Tools" |
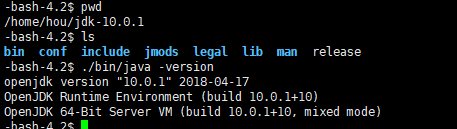
准备openjdk10作为N-1版本启动引导
https://jdk.java.net/archive/

解压
执行安装脚本
1 | bash configure --with-boot-jdk=/home/hou/jdk-10.0.1 |
提示报错1

checking for X11/extensions/shape.h… configure: error: Could not find all X11 headers (shape.h Xrender.h XTest.h Intrinsic.h). You might be able to fix this by running ‘sudo yum install libXtst-devel libXt-devel libXrender-devel libXi-devel’.
执行安装
1 | sudo yum install libXtst-devel libXt-devel libXrender-devel libXi-devel |
再次执行安装脚本
1 | bash configure --with-boot-jdk=/home/hou/jdk-10.0.1 |
提示报错2

checking cups/ppd.h presence… configure: error: Could not find cups! You might be able to fix this by running ‘sudo yum install cups-devel’.
执行安装
1 | sudo yum install cups-devel |
再次执行安装脚本
1 | bash configure --with-boot-jdk=/home/hou/jdk-10.0.1 |
提示报错3

configure: error: Could not find fontconfig! You might be able to fix this by running ‘sudo yum install fontconfig-devel’.
执行安装
1 | sudo yum install fontconfig-devel |
再次执行安装脚本
1 | bash configure --with-boot-jdk=/home/hou/jdk-10.0.1 |
提示报错4

configure: error: Could not find alsa! You might be able to fix this by running ‘sudo yum install alsa-lib-devel’.
执行安装
1 | sudo yum install alsa-lib-devel |
再次执行安装脚本
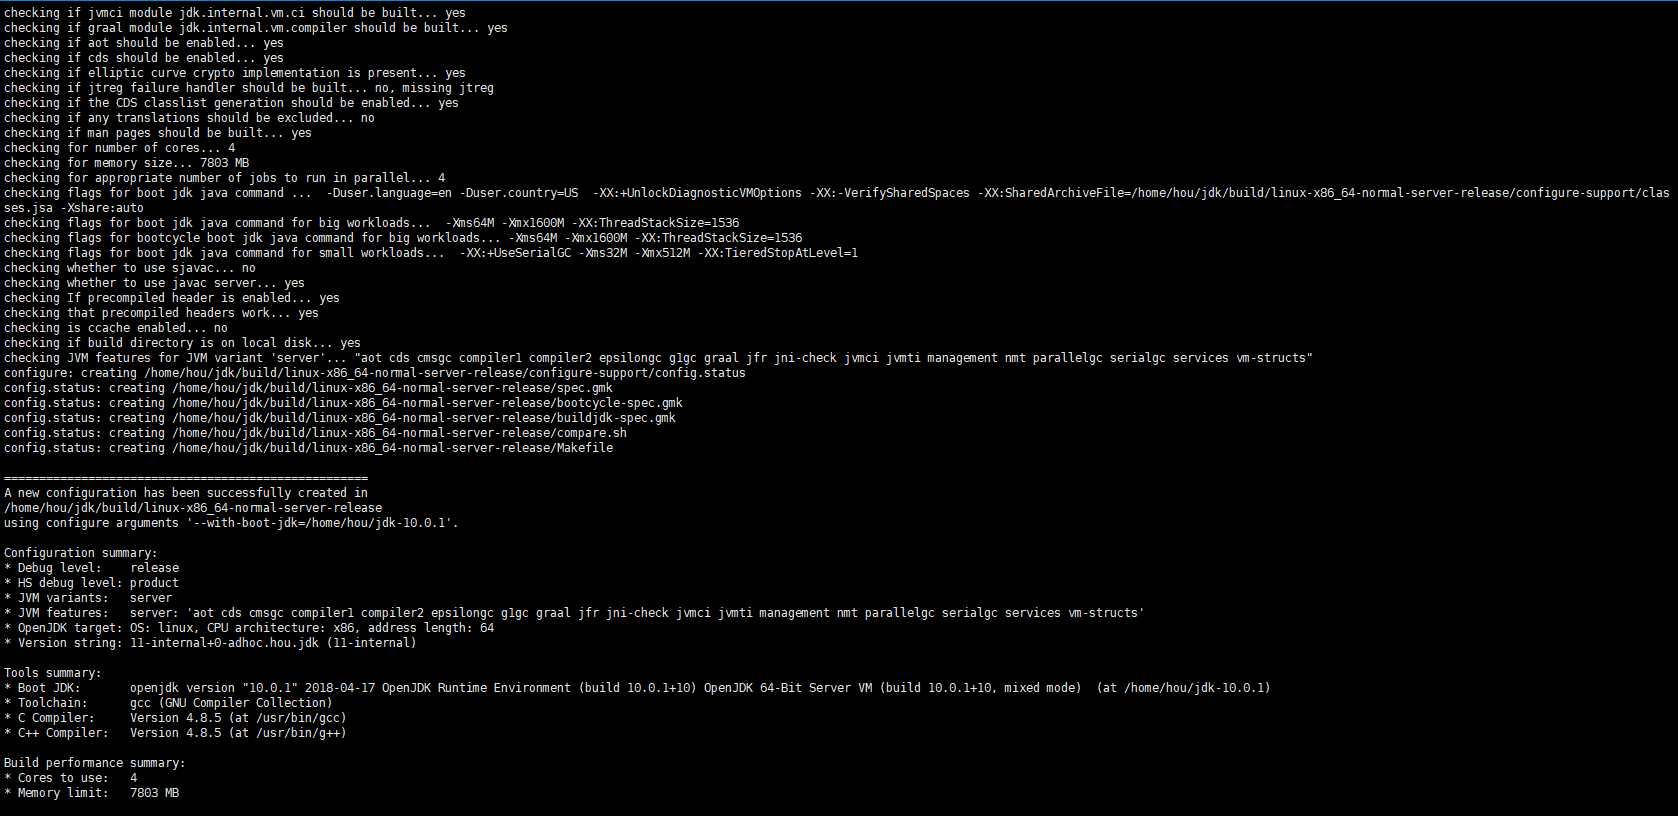
1 | bash configure --with-boot-jdk=/home/hou/jdk-10.0.1 |
提示构建成功
执行make,生成镜像
1 | make images |
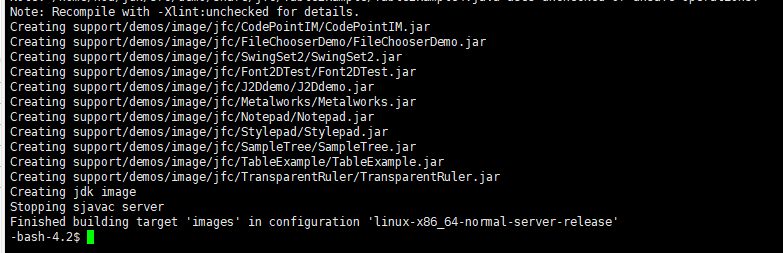
创建成功

验证安装
1 | ./build/*/images/jdk/bin/java -version |

执行成功
启用调试模式
1 | bash configure --with-boot-jdk=/home/hou/jdk-10.0.1 --disable-warnings-as-errors --with-debug-level=slowdebug --with-jvm-variants=server |
1 | disable-warnings-as-errors选项是禁止把warning 当成error |
编译
1 | make images |
编译成功

执行测试
1 | ./build/*/images/jdk/bin/java -version |

GDB调试
没有任何工具的情况下使用这种方式最方便,也是最直观的。
进入到执行目录下
1 | cd /home/hou/jdk/build/linux-x86_64-normal-server-slowdebug/jdk/bin |

执行gdb命令
1 | gdb ./java |

设置断点
1 | b JLI_Launch |
执行命令
1 | run -version |

单步调试
1 | n |
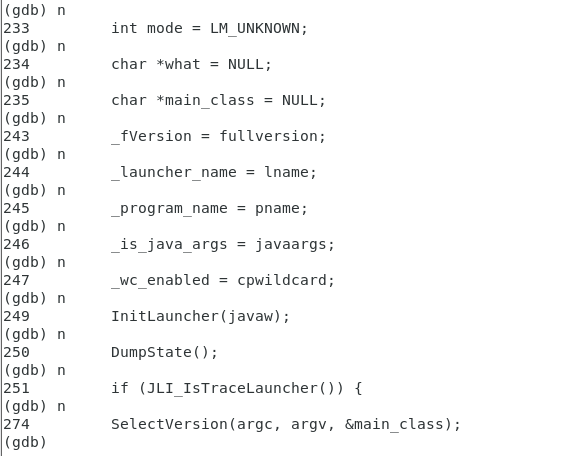
退出调试
1 | quit |

CLION+GDB调试
使用强大的ide将会使调试代码更加方便,clion的缺点是不是开源免费的,下面演示一下
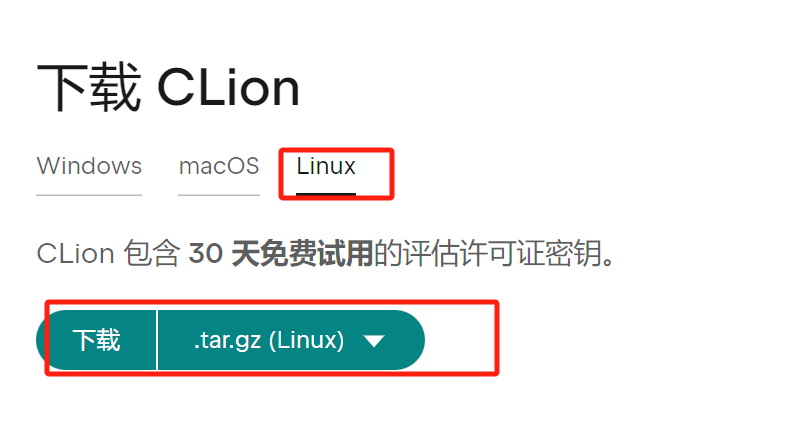
下载并安装clion
https://www.jetbrains.com/zh-cn/clion/download/#section=windows
下载linux版本
解压进入到目录中
1 | cd /home/hou/clion-2024.3.1/bin |
执行运行脚本
1 | ./clion.sh |

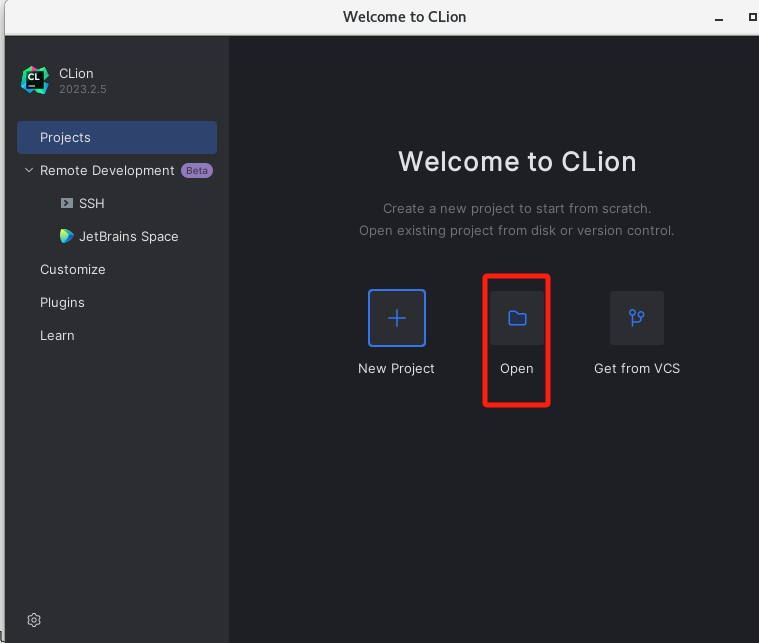
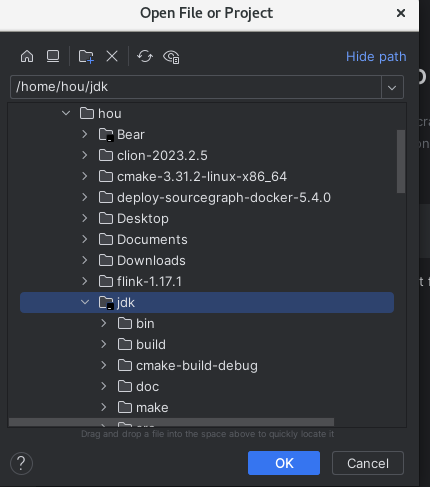
打开项目
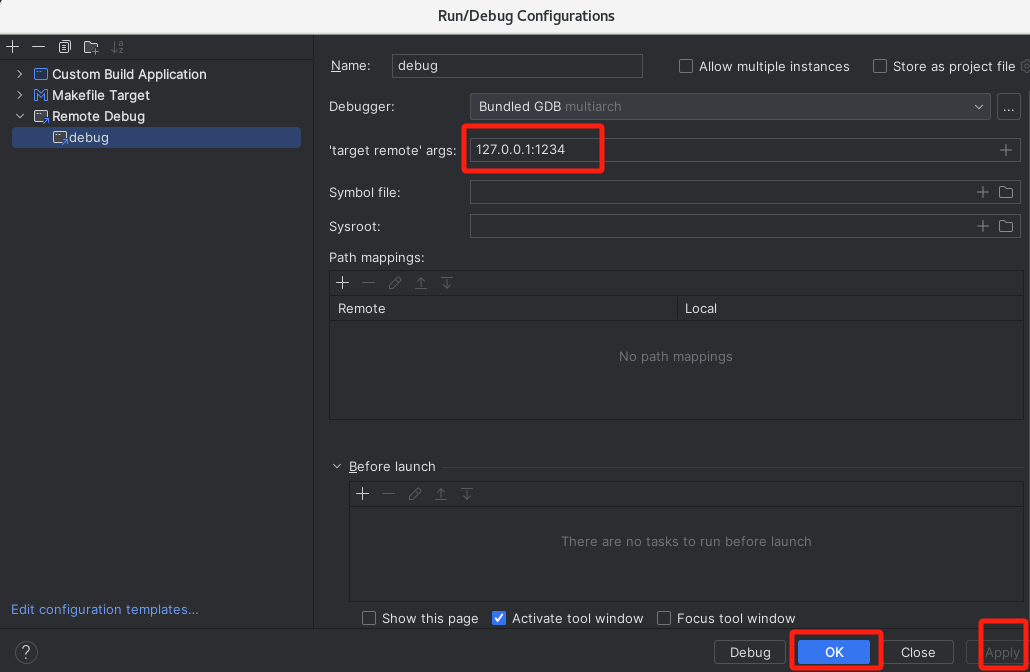
配置debug

配置地址
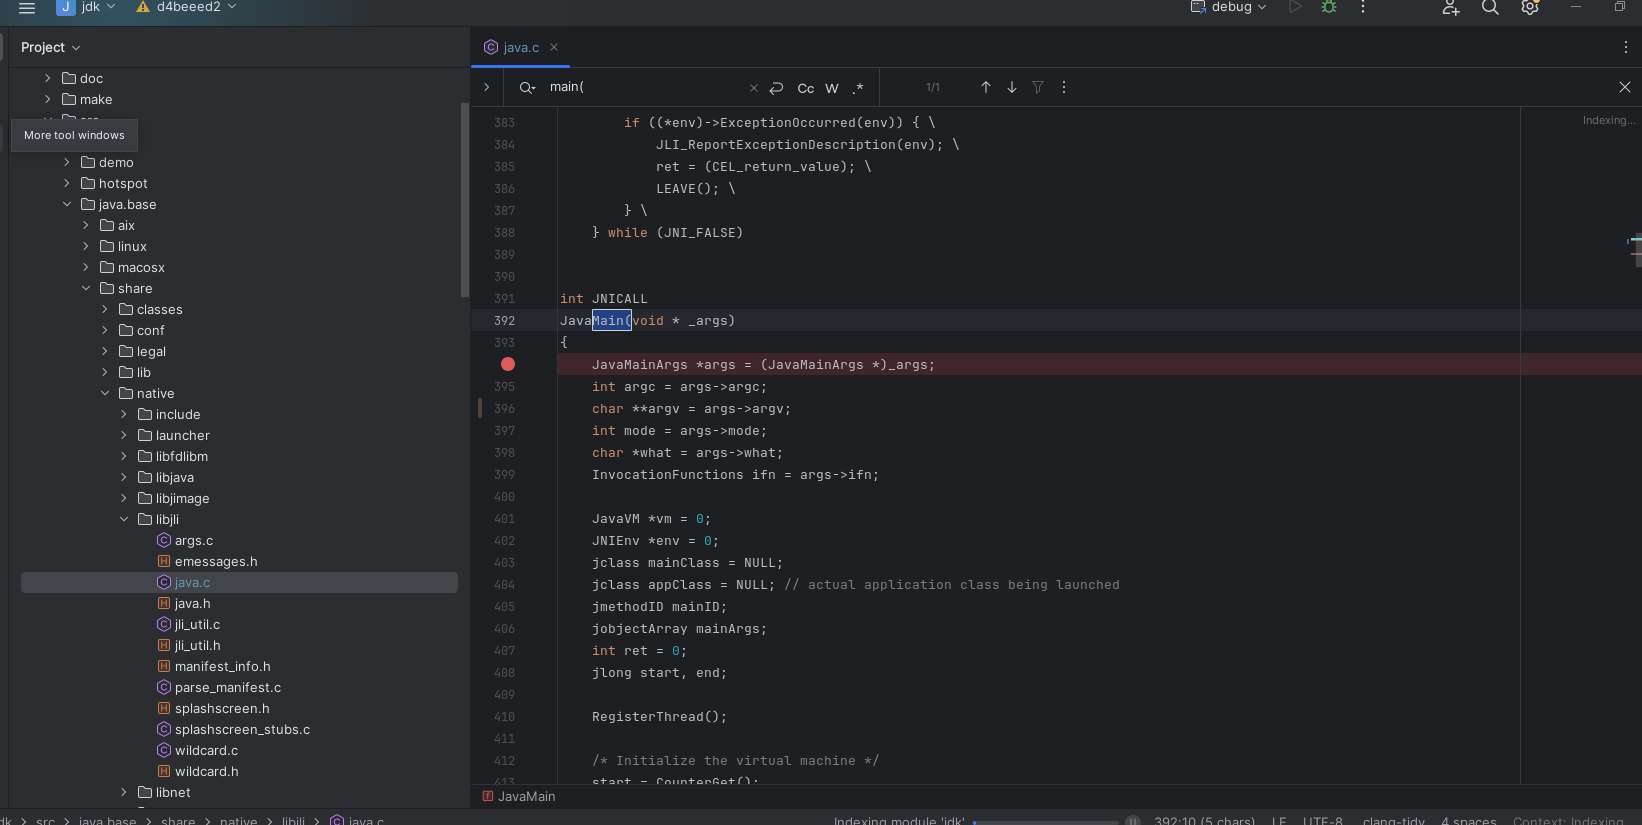
打印断点
安装gdbserver
1 | sudo yum install gdb-gdbserver |
进入目录下
1 | cd /home/hou/jdk/build/linux-x86_64-normal-server-slowdebug/jdk/bin |
执行gdb服务命令
1 | gdbserver :1234 ./java -version |
可以看到已经启动

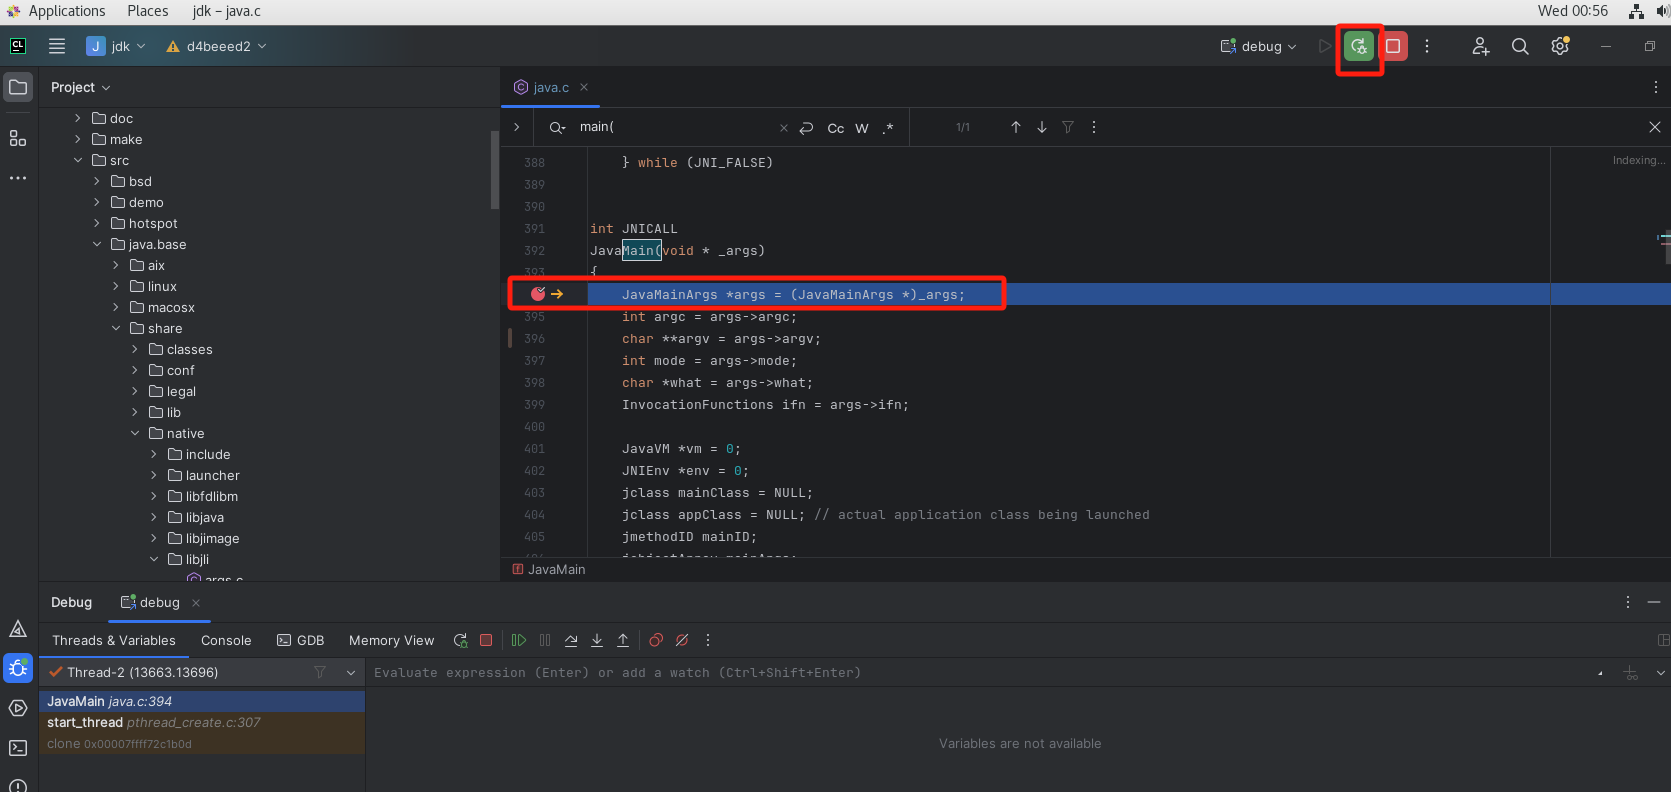
启动调试
可以看到已经在断点处了
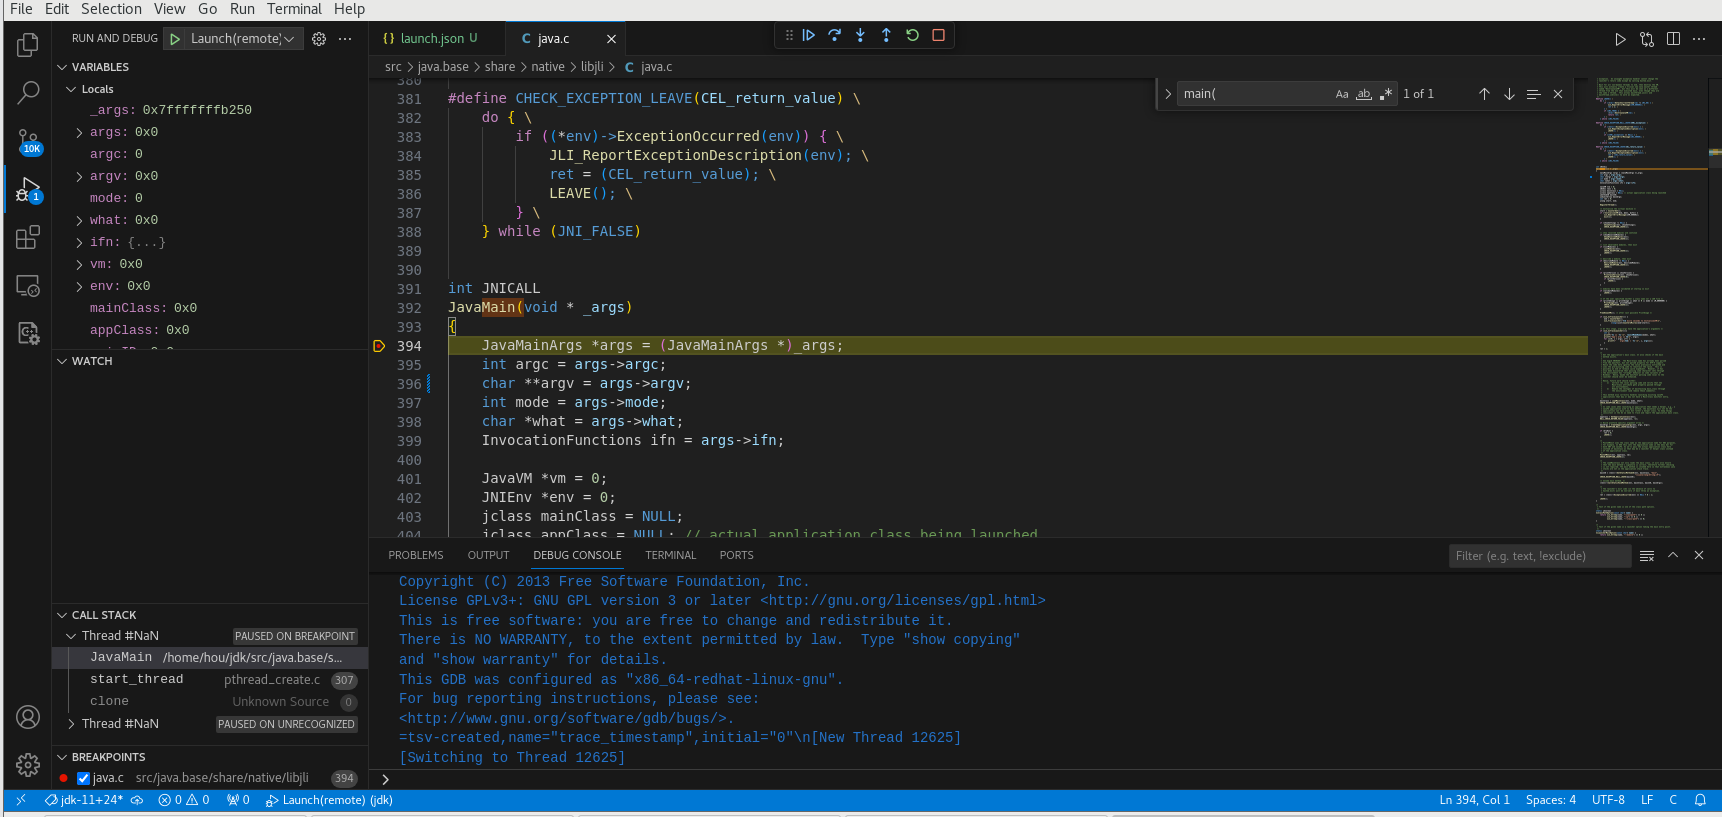
vscode+GDB调试
GDB直接调试不那么直观,看着很难受,使用开源vscode工具,再也不用担心clion的license到期了,非常方便直观可以进行断点调试。
vscode下载
https://code.visualstudio.com/updates/v1_85
安装好后启动
输入code就可以启动
1 | code |
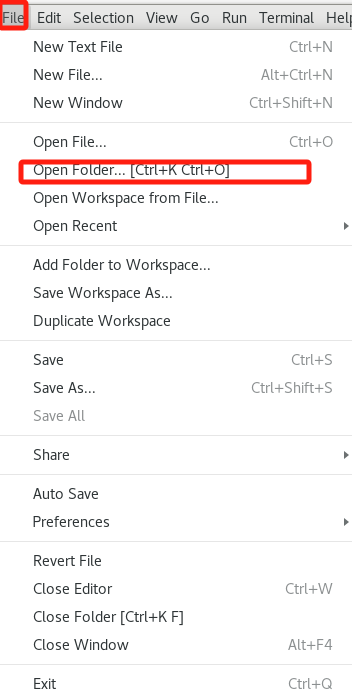
打开源码目录
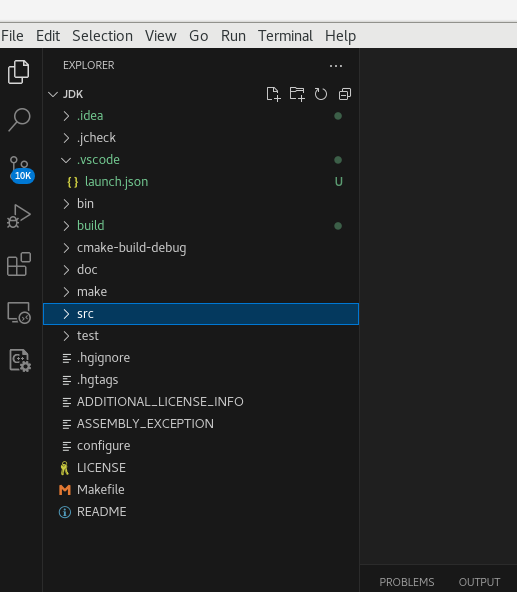
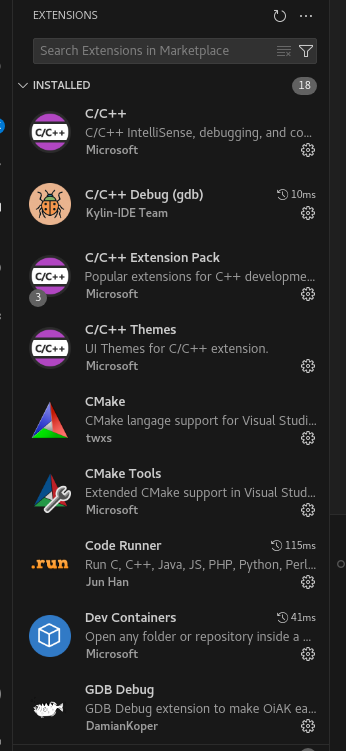
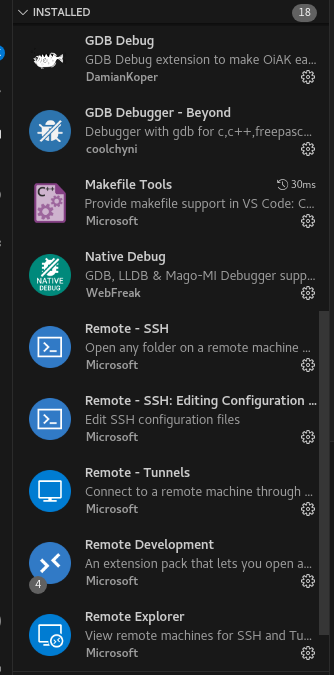
安装插件
添加配置
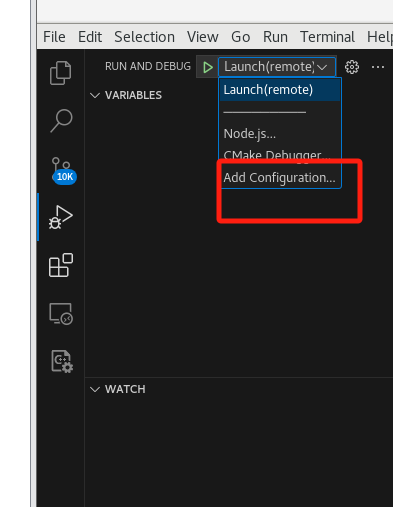
选择这个

配置launch.json
1 | { |
安装gdbserver
1 | sudo yum install gdb-gdbserver |
进入目录下
1 | cd /home/hou/jdk/build/linux-x86_64-normal-server-slowdebug/jdk/bin |
执行gdb服务命令
1 | gdbserver :1234 ./java -version |
可以看到已经启动
设置断点
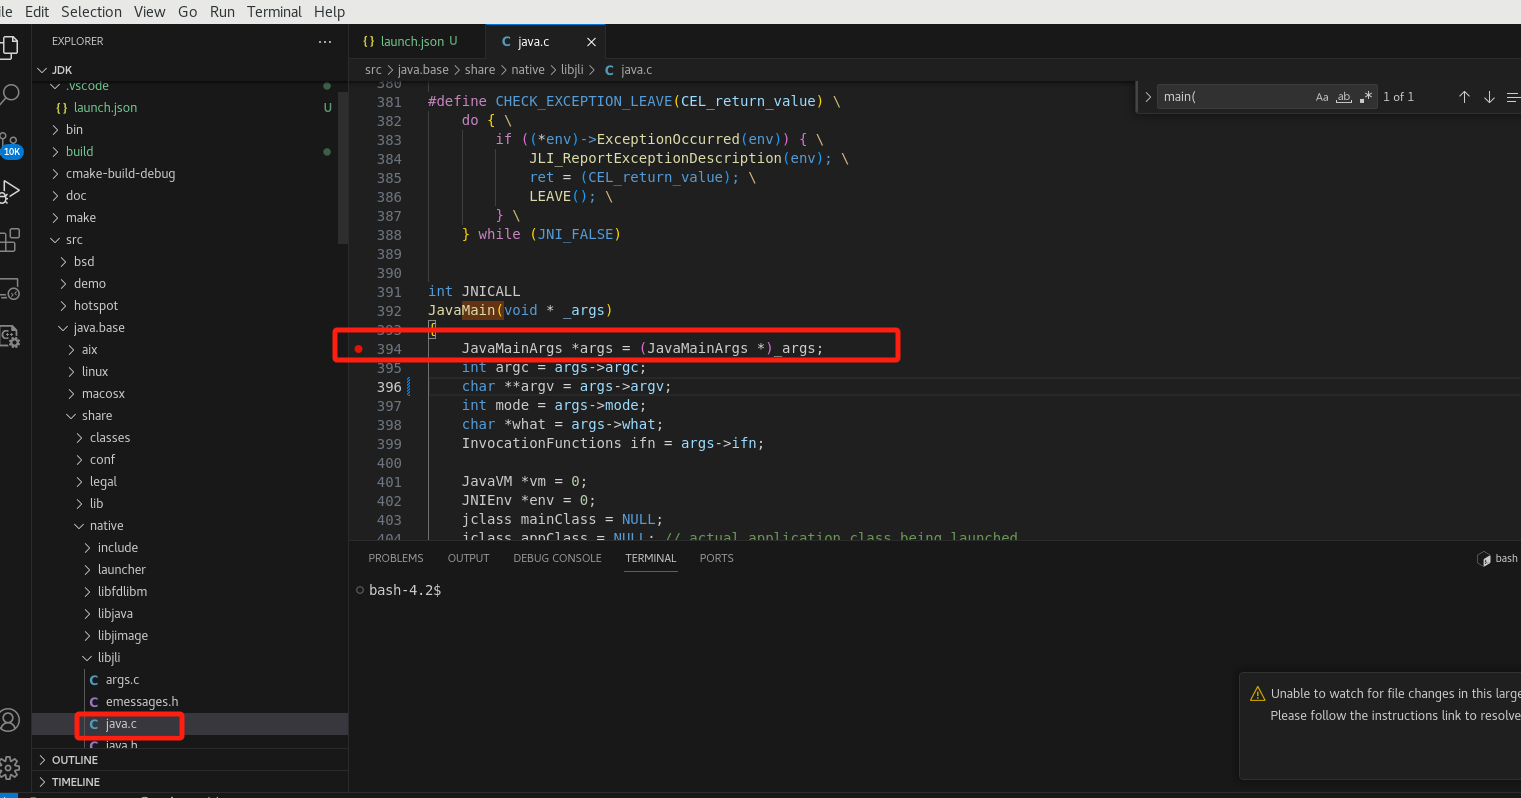
启动调试
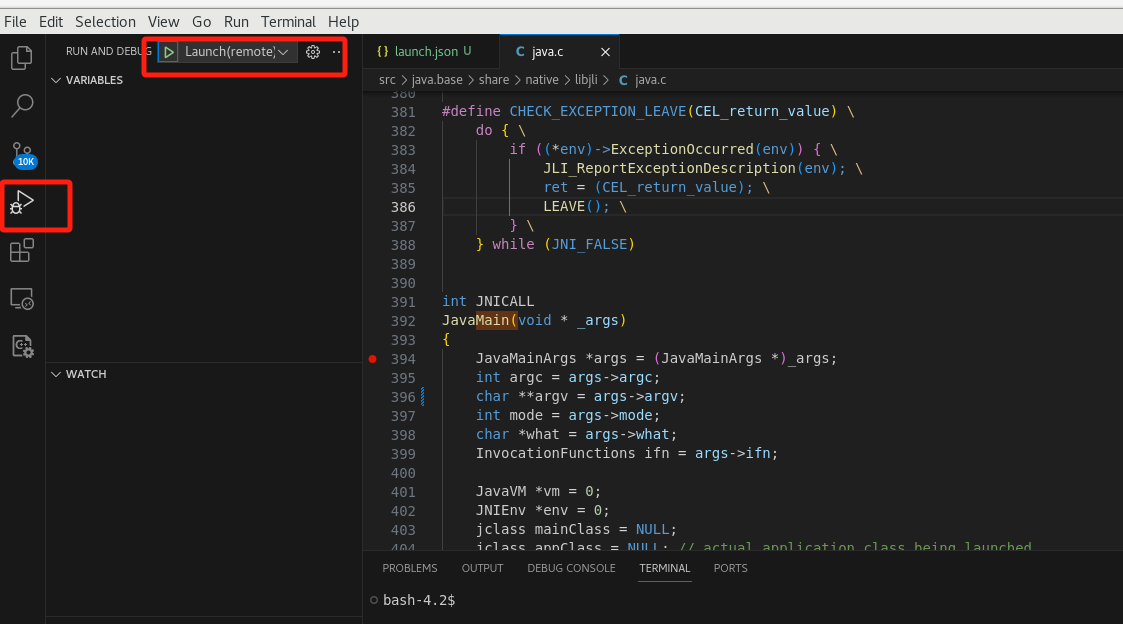
可以看到已经捕获到断点,尽情调试吧