centos7中java使用JNI访问jvm的naive方法举例
java使用的naive方法,底层是调用的c语言实现的,JNI就是java调用底层c语言的桥梁,下面举个例子。
java项目中创建JNIDemo类
1
2
3
4
5
6
7
8
9
10
11
12
13
14
| public class HelloJNI {
static {
System.loadLibrary("jnidemo"); // Load native library at runtime
// jnidemo.dll (Windows) or libjnidemo.so (Unixes)
}
// Declare a native method sayHello() that receives nothing and returns void
private native void sayHello();
// Test Driver
public static void main(String[] args) {
new HelloJNI().sayHello(); // invoke the native method
}
}
|
编译
生成HelloJNI.class文件

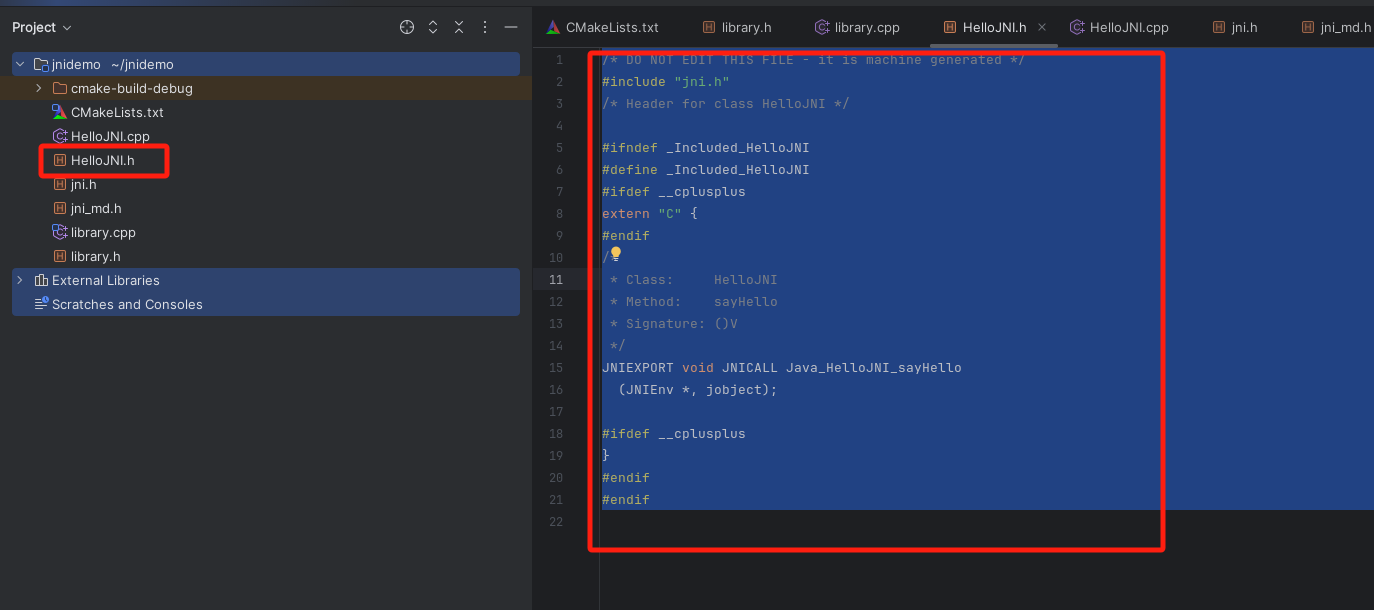
生成头文件
生成如下HelloJNI.h文件

1
2
3
4
5
6
7
8
9
10
11
12
13
14
15
16
17
18
19
20
21
22
| /* DO NOT EDIT THIS FILE - it is machine generated */
#include "jni.h"
/* Header for class HelloJNI */
#ifndef _Included_HelloJNI
#define _Included_HelloJNI
#ifdef __cplusplus
extern "C" {
#endif
/*
* Class: HelloJNI
* Method: sayHello
* Signature: ()V
*/
JNIEXPORT void JNICALL Java_HelloJNI_sayHello
(JNIEnv *, jobject);
#ifdef __cplusplus
}
#endif
#endif
|
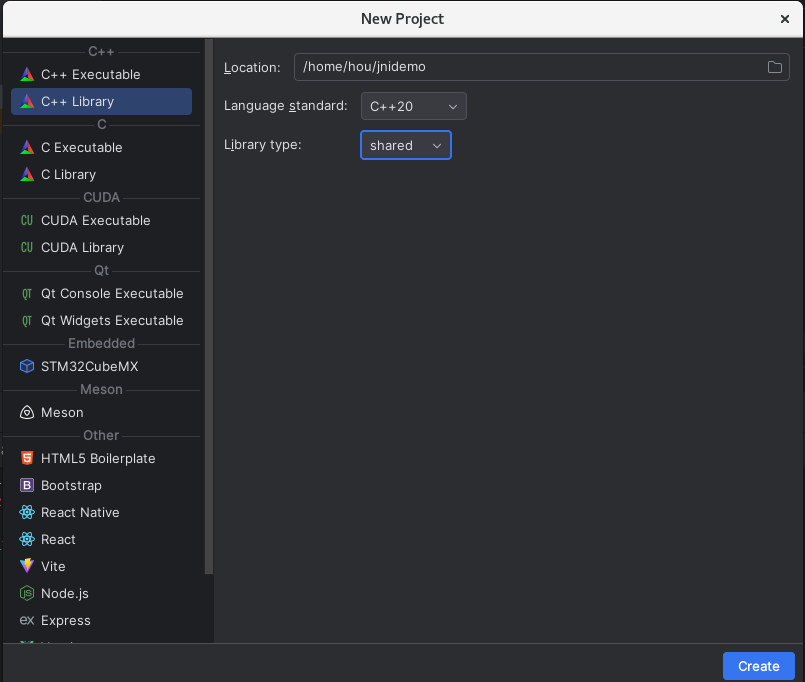
使用clion创建C++项目
拷贝HelloJNI.h到clion项目中
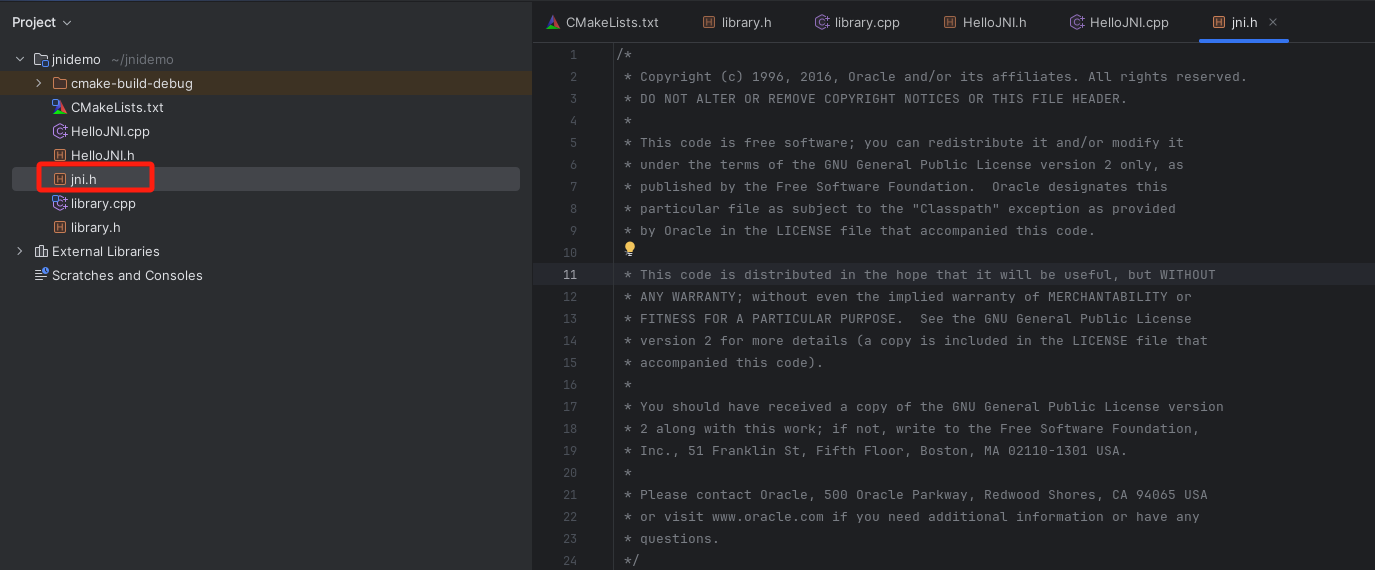
拷贝jni.h到clion项目中
- windows去本地jdk安装目中找
<jdk安装目录>/include/jni.h
- linux去本地jdk安装目录找
<jdk安装目录>/include/jni.h

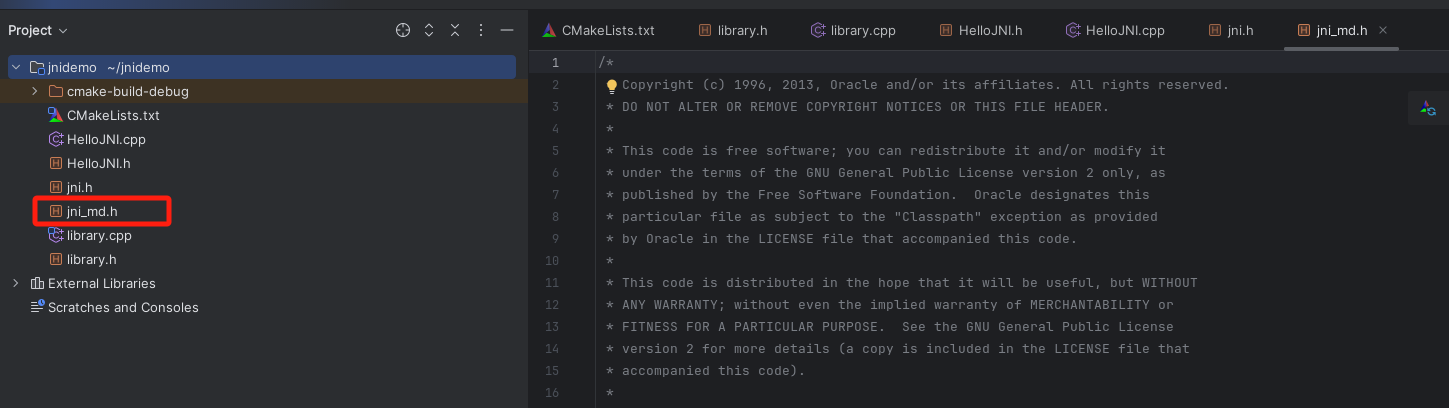
拷贝jni_md.h到clion项目中
- windows去本地jdk安装目中找
<jdk安装目录>/include/win32/jni_md.h
- linux去本地jdk安装目录找
<jdk安装目录>/include/linux/jni_md.h

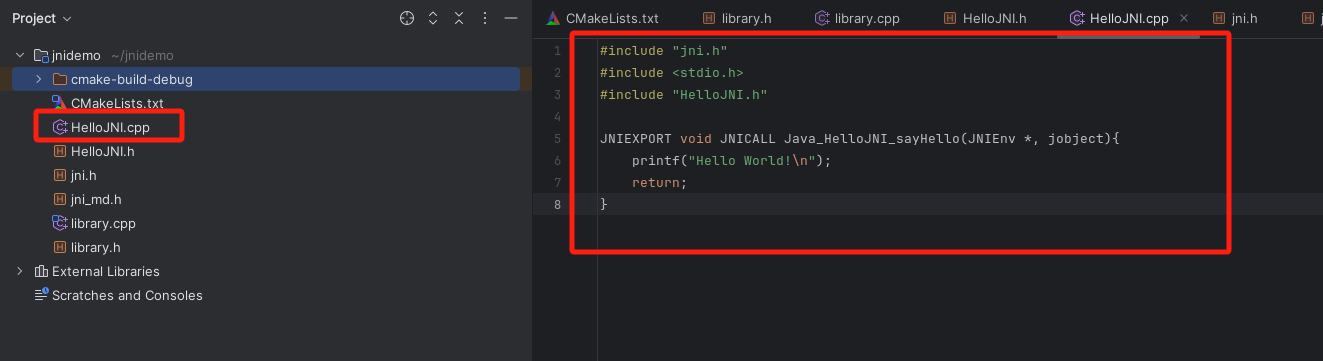
创建HelloJNI.cpp文件,实现helloJni()方法
1
2
3
4
5
6
7
8
| #include "jni.h"
#include <stdio.h>
#include "HelloJNI.h"
JNIEXPORT void JNICALL Java_HelloJNI_sayHello(JNIEnv *, jobject){
printf("Hello World!\n");
return;
}
|
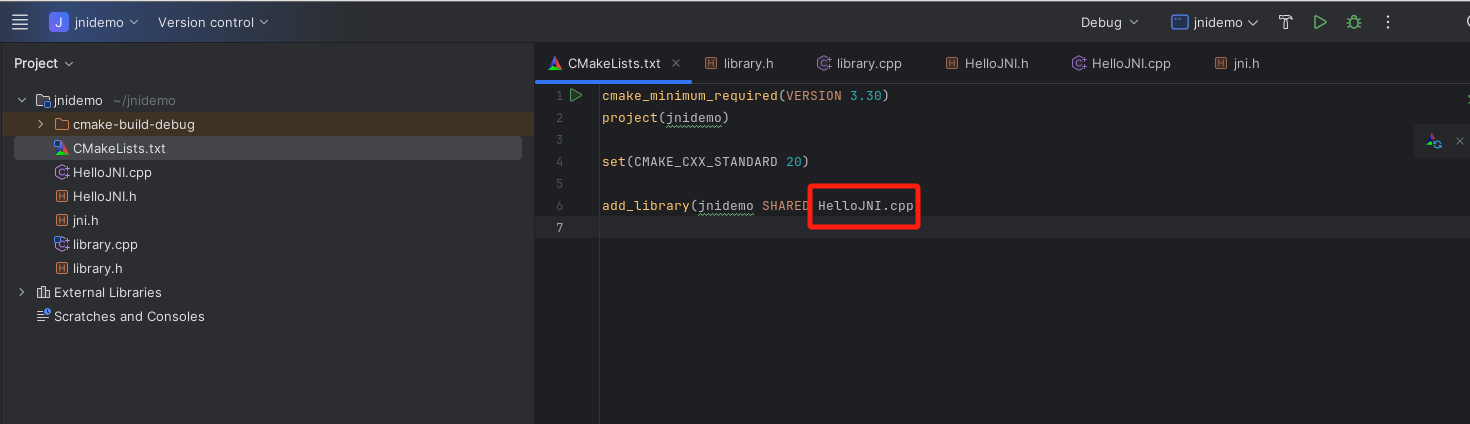
将HelloJNI.cpp文件添加到CMakeList.txt中
编译
看到编译成功
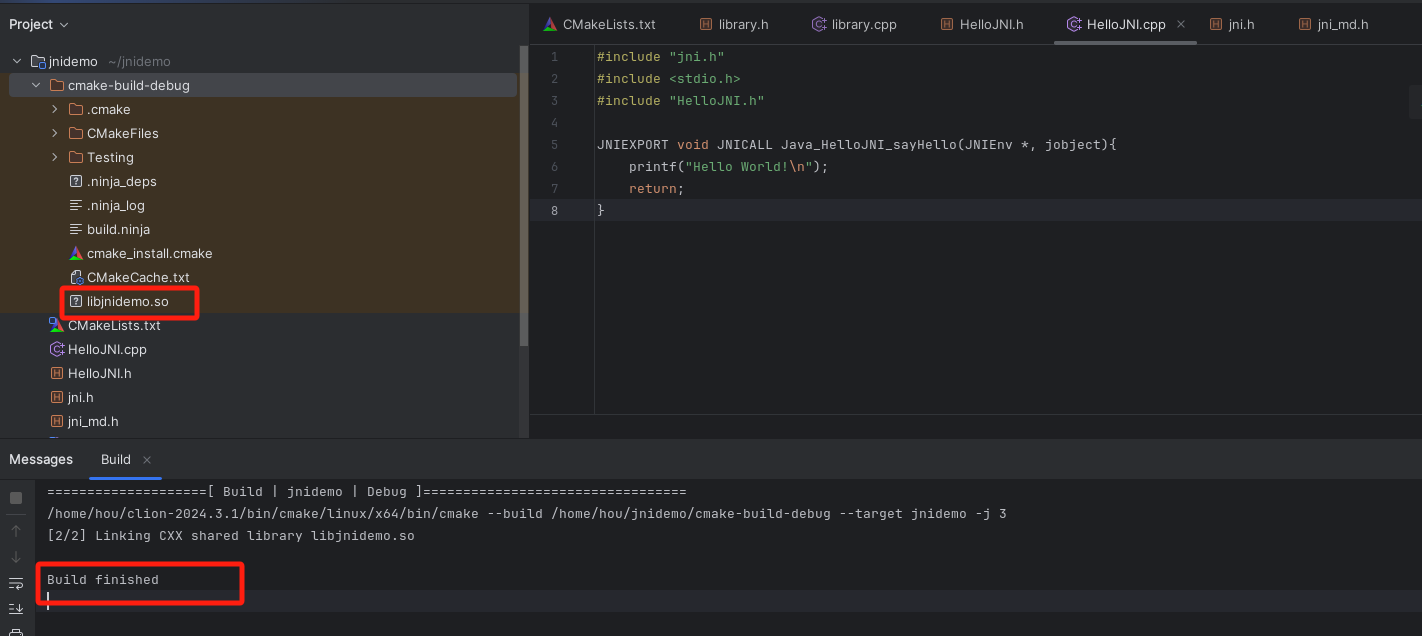
将libjnidemo.so拷贝到测试文件夹下

执行测试案例
1
| java -Djava.library.path=./ HelloJNI
|
看到执行成功
