springboot集成Swagger(springdoc-openapi-ui版本)—图文详细
对于快速迭代的软件开发,会导致软件文档中的API不能及时更新,不同项目组之间的代码协同问题出现了较大的挑战,因此本文简单实验springboot集成swagger动态生成文档,可以边开发代码边生成文档,由于springfox版本老旧已经不在维护,本文使用springdoc方式集成。
使用IDEA快速搭建springboot项目
如果已经搭建好了springboot项目可以跳过这一步
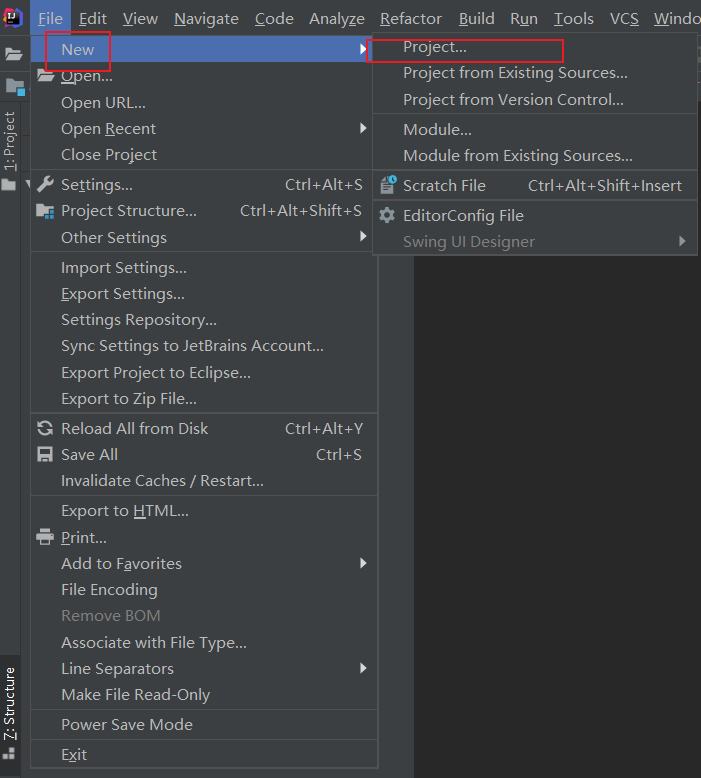
点击左上角菜单New,选择Project
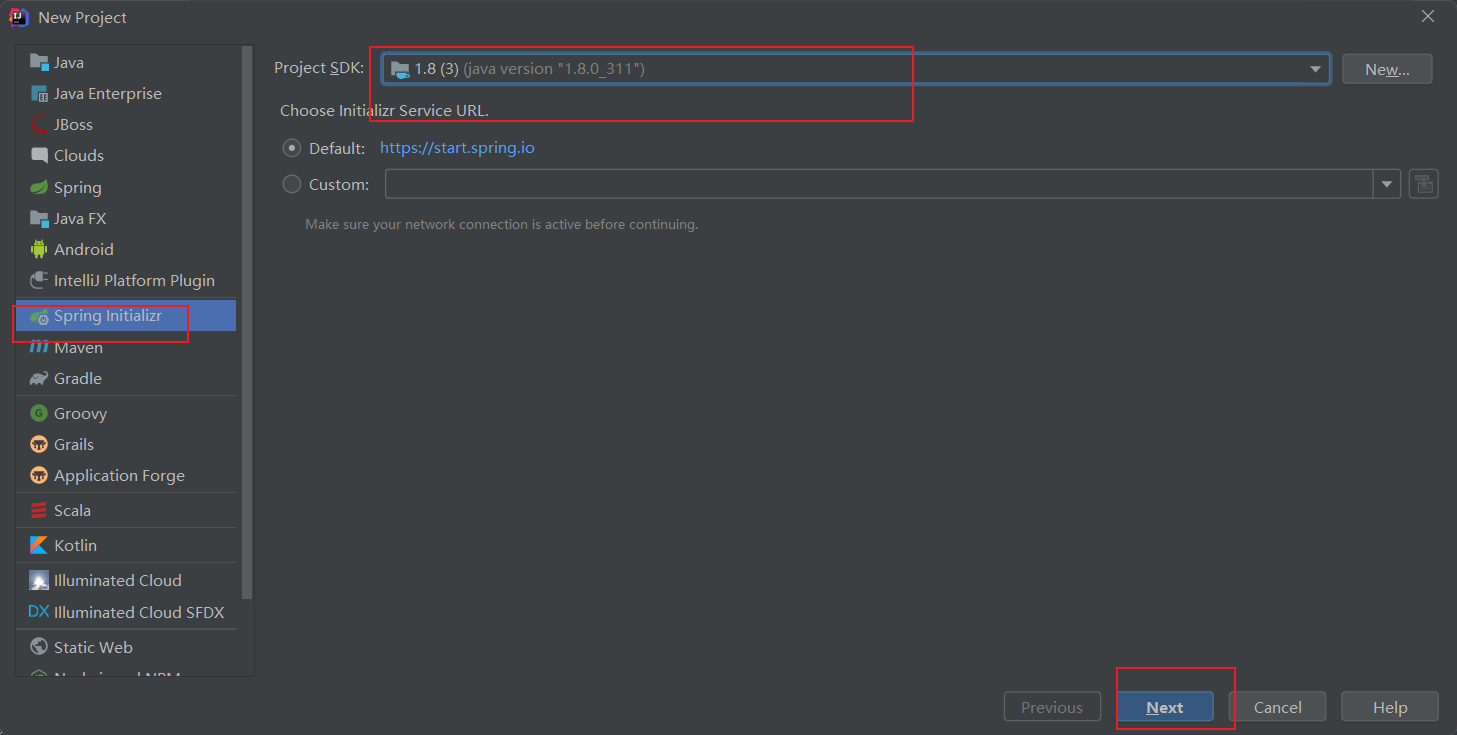
使用Spring Initializr方式创建springboot项目,选择jdk为本地安装的1.8版本,点击下一步
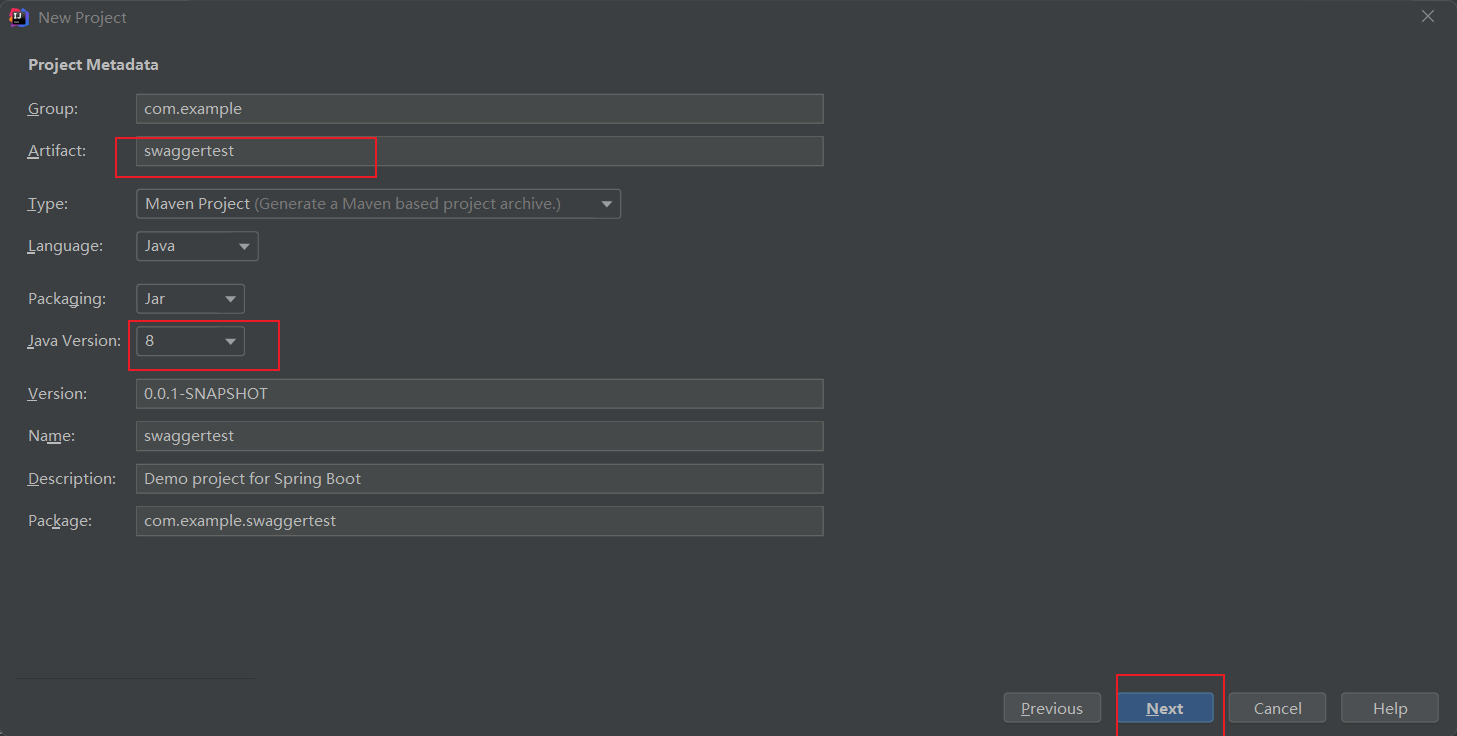
输入swaggertest,点击Next
选择Web,选中Spring Web,点击Next

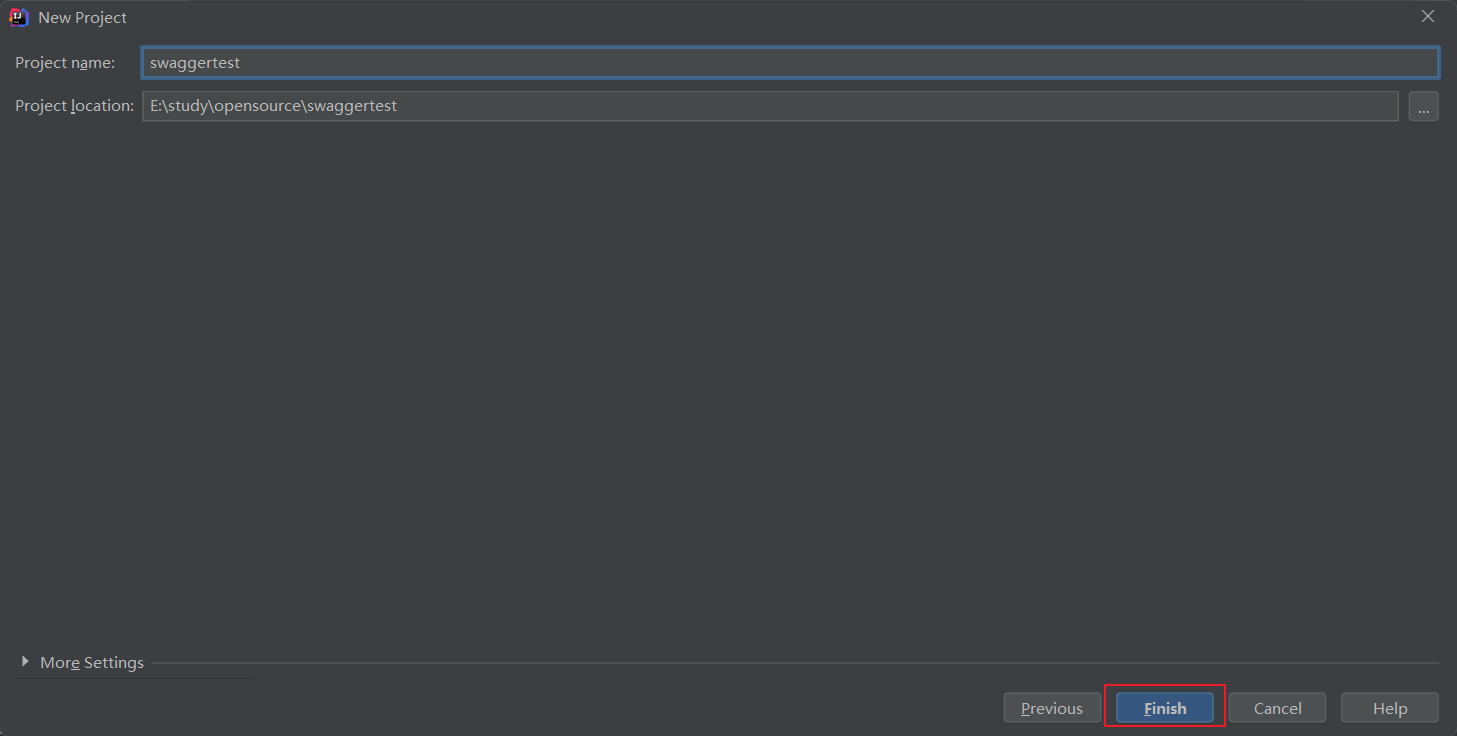
点击Finish
选择New Window

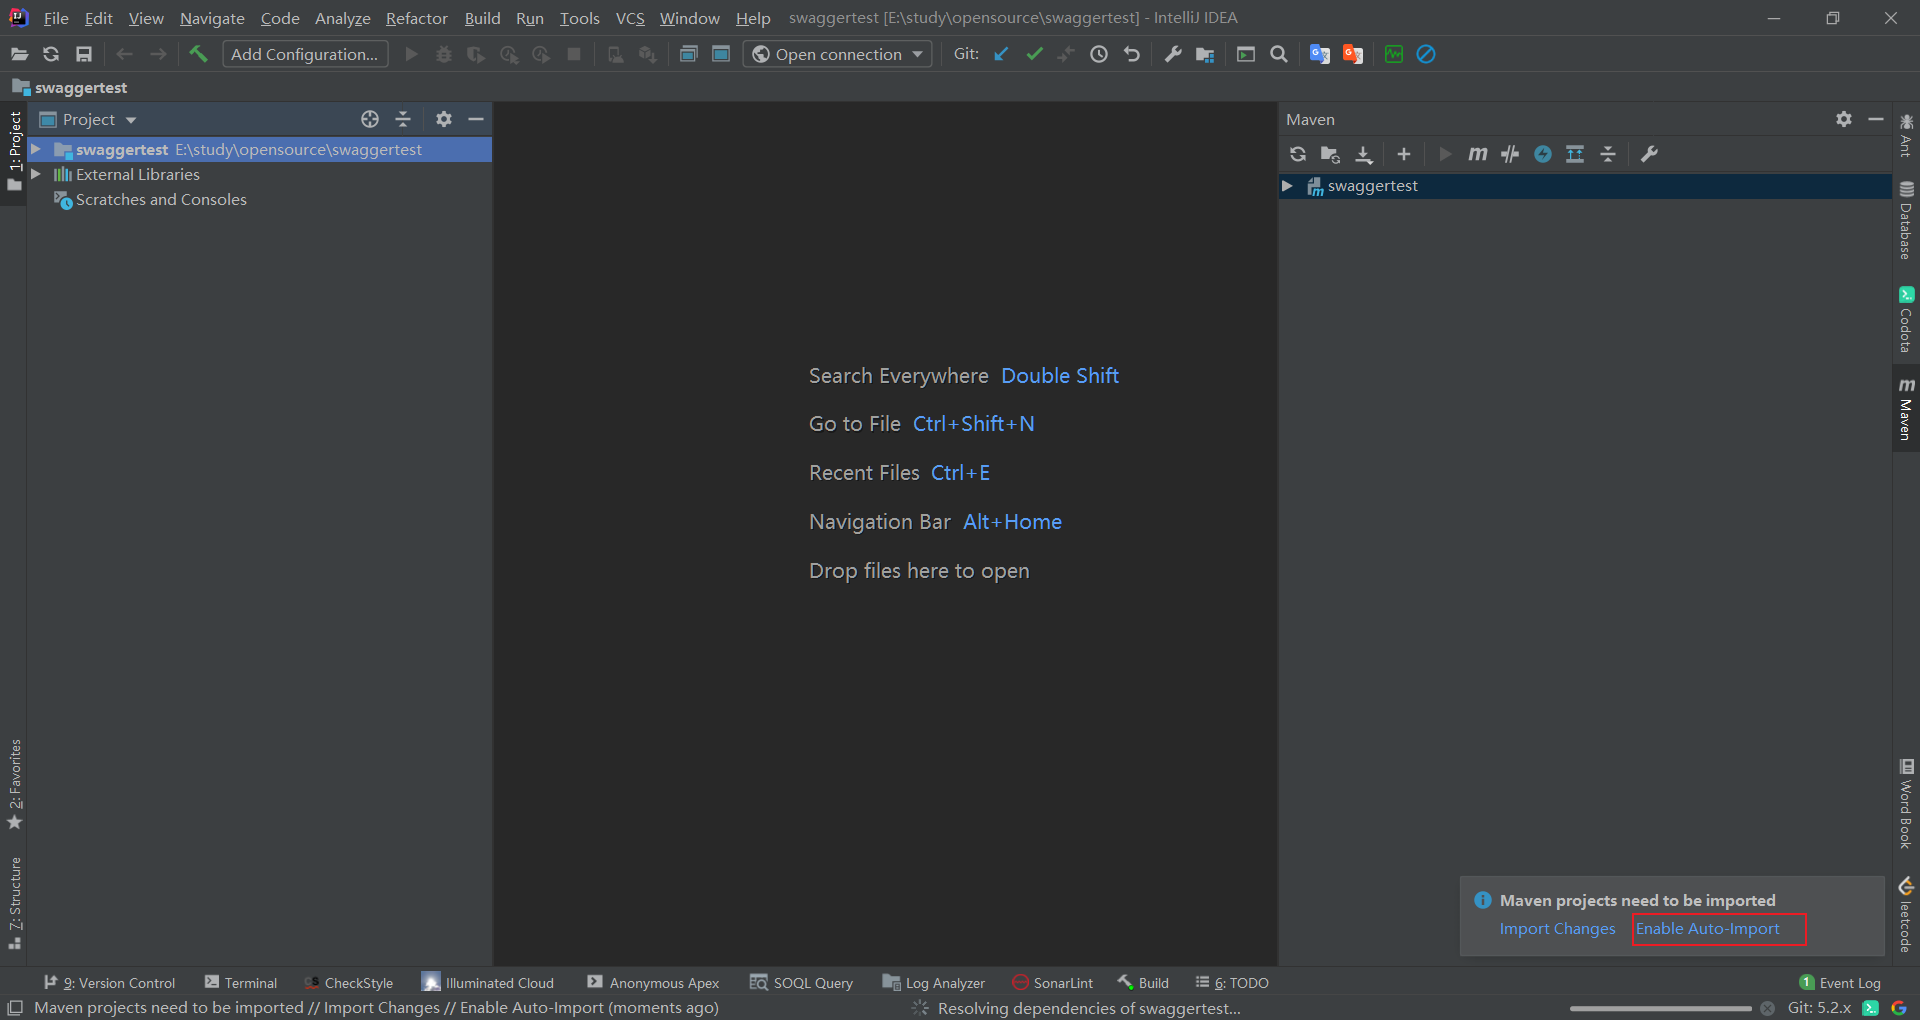
点击Enable Auto Import
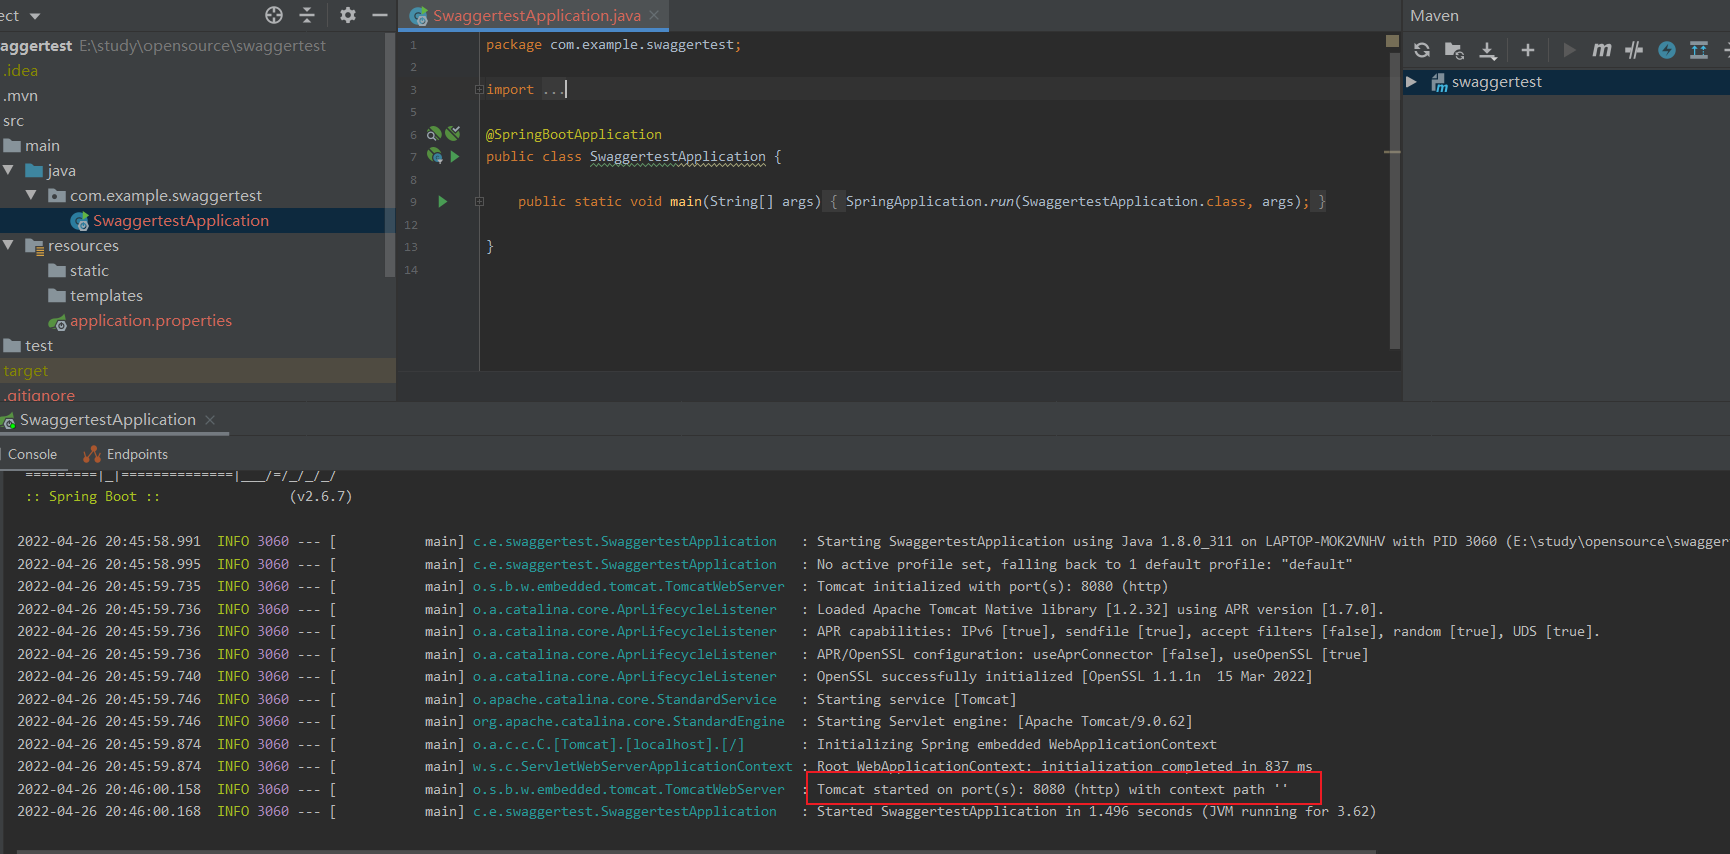
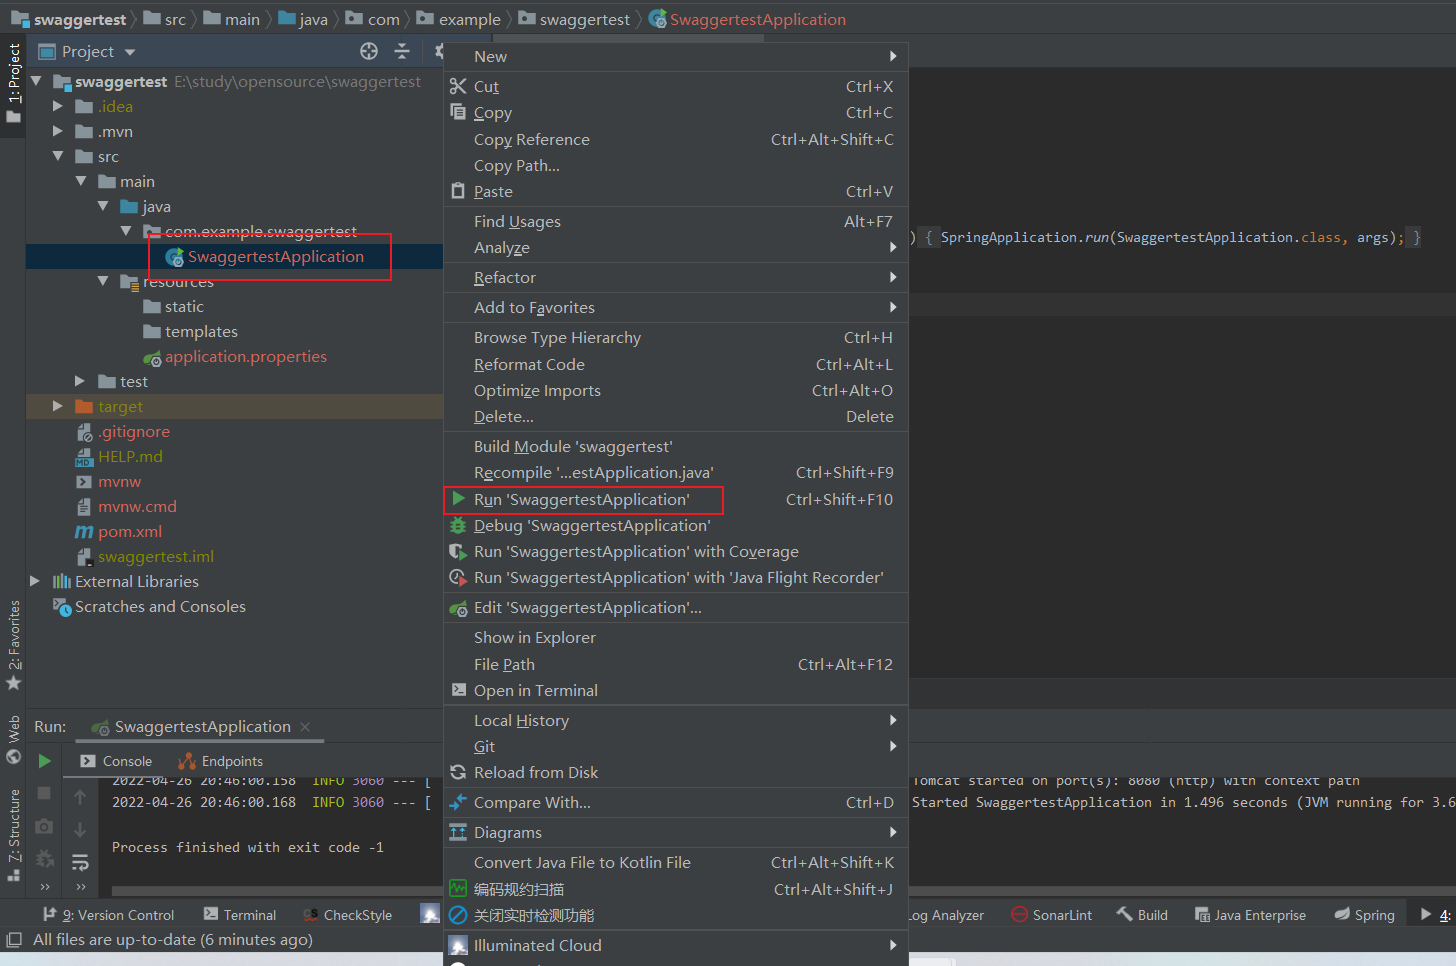
选中SwaggertestApplication,右键选中Run ‘SwaggertestApplication’,点击运行

可以看到程序启动成功,至此springboot项目搭建成功
基于springboot项目集成swagger
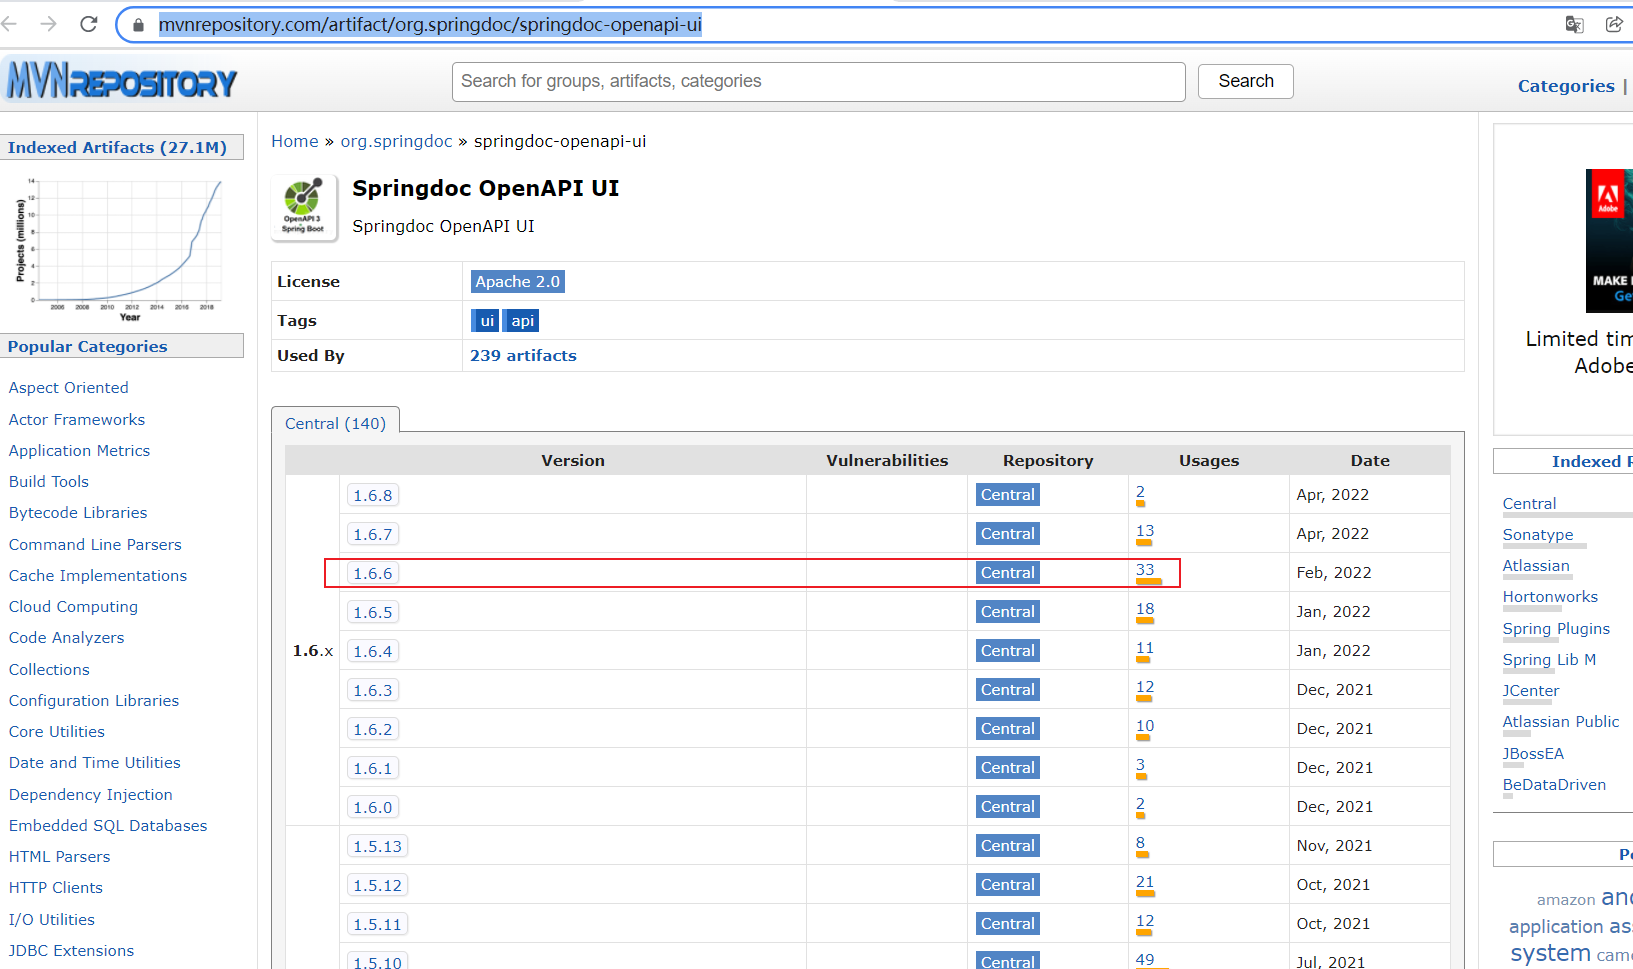
访问网址
https://mvnrepository.com/artifact/org.springdoc/springdoc-openapi-ui
点击较新且使用较多的1.6.6版本
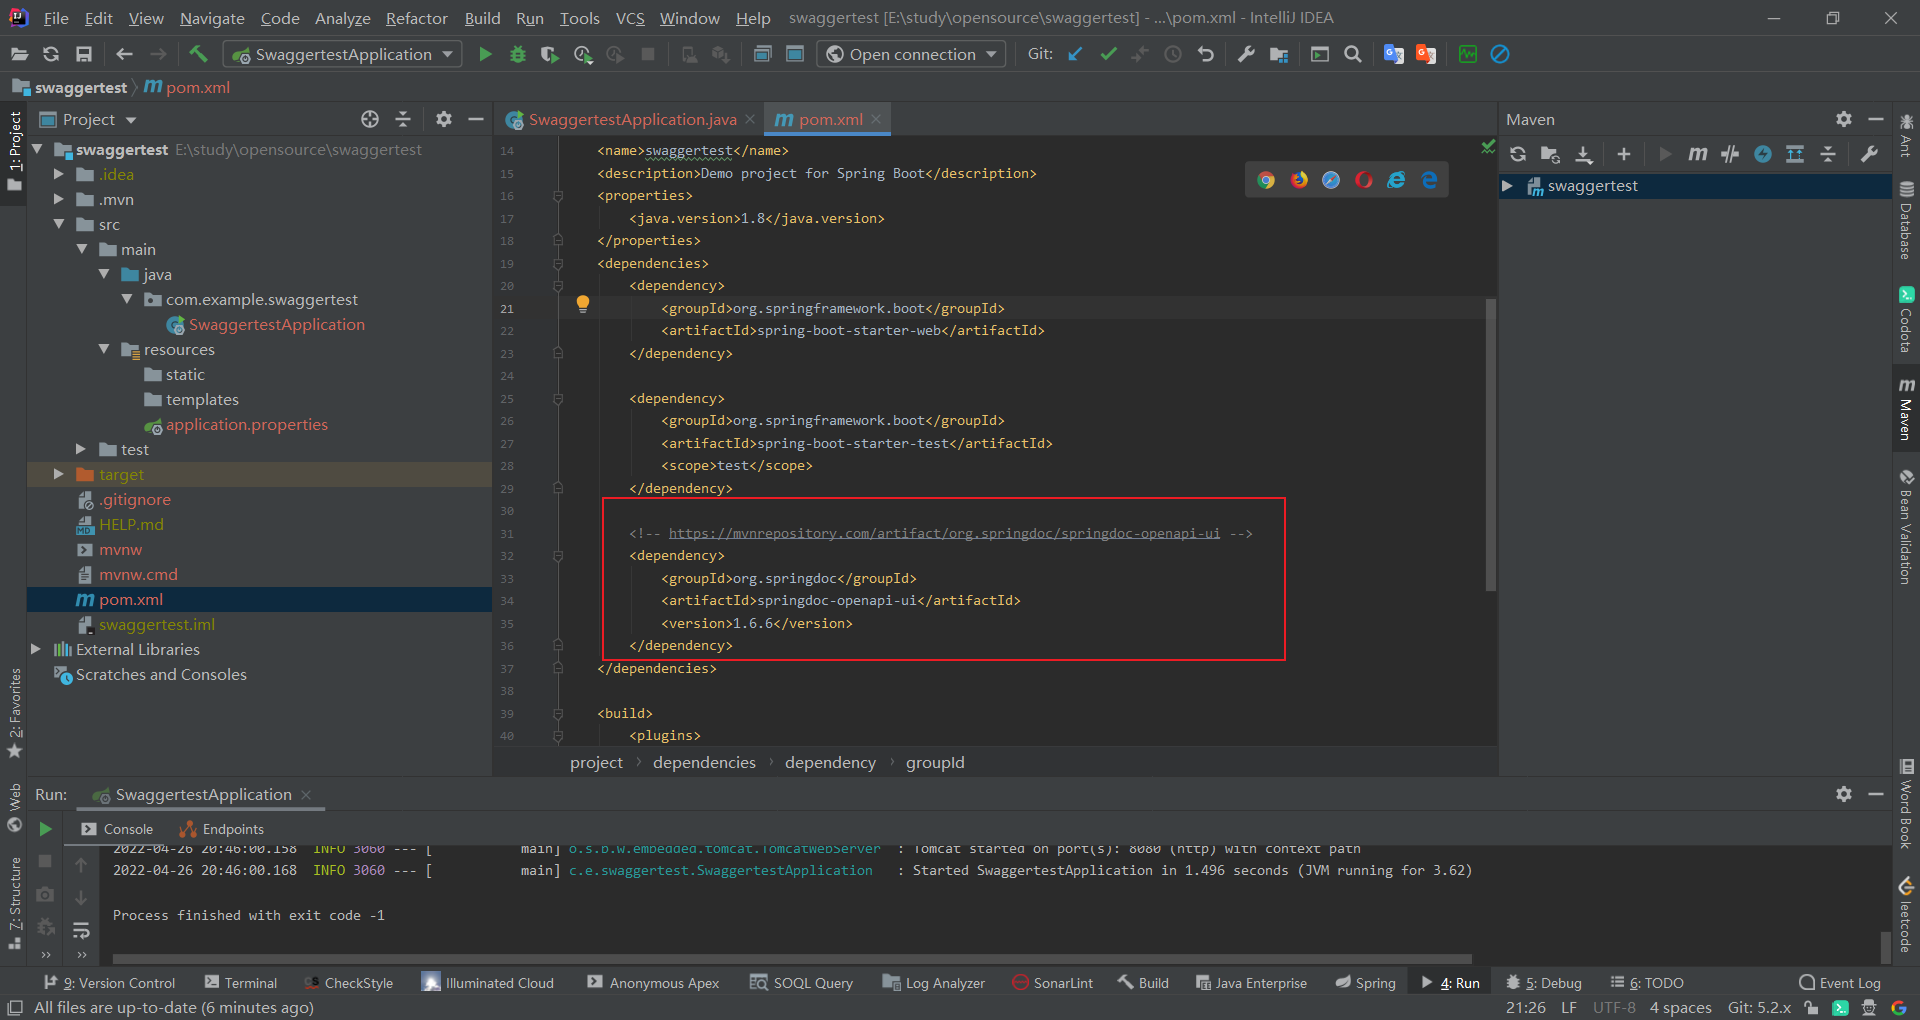
复制maven仓库
1 | <!-- https://mvnrepository.com/artifact/org.springdoc/springdoc-openapi-ui --> |
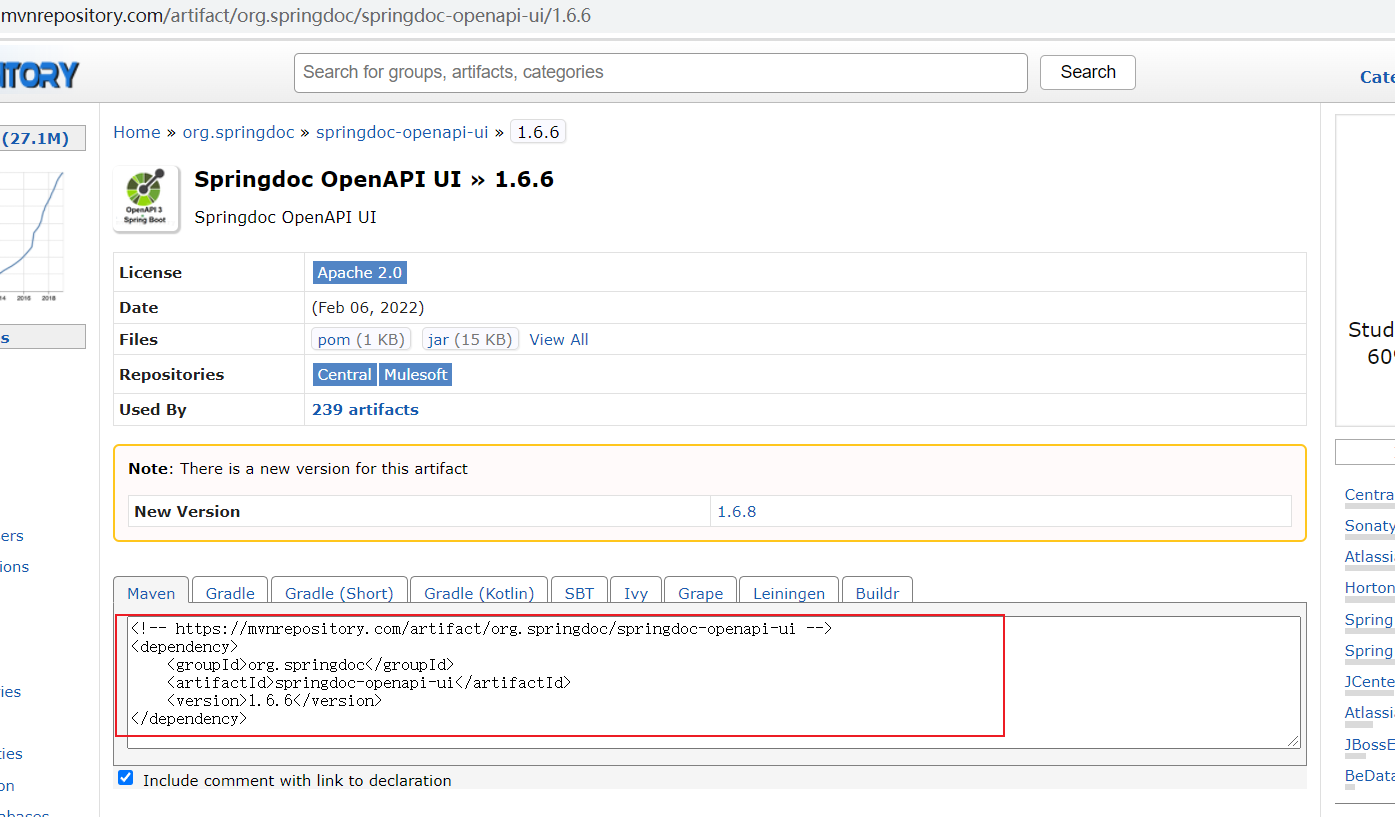
拷贝到项目pom.xml中
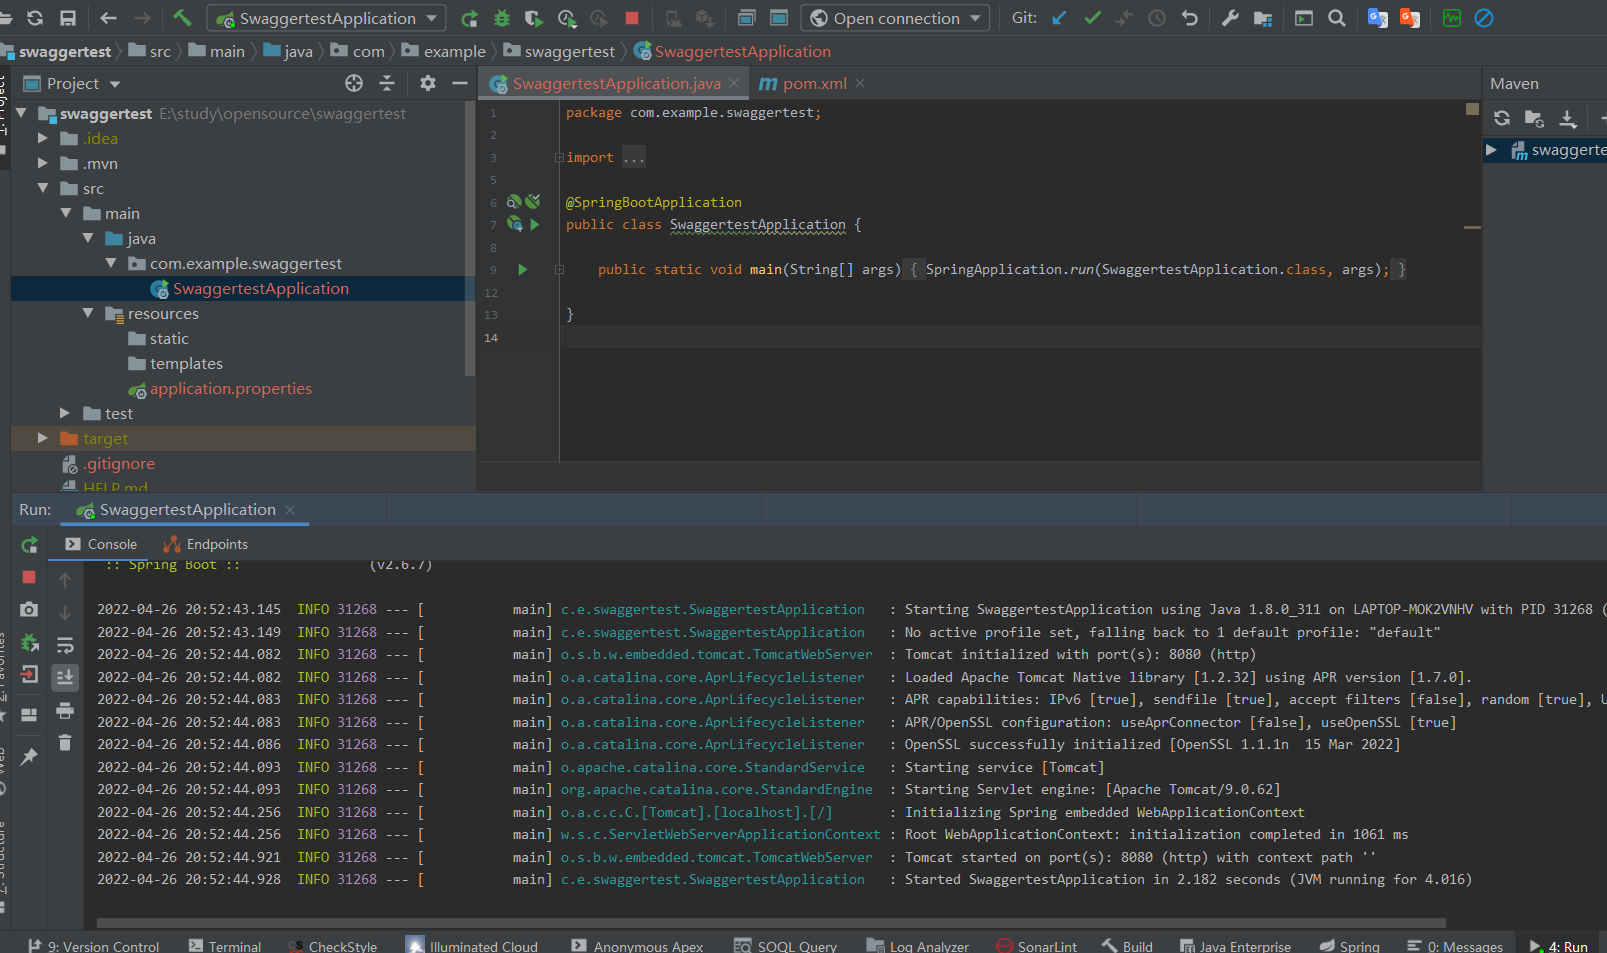
加载完后重新启动程序
程序启动成功
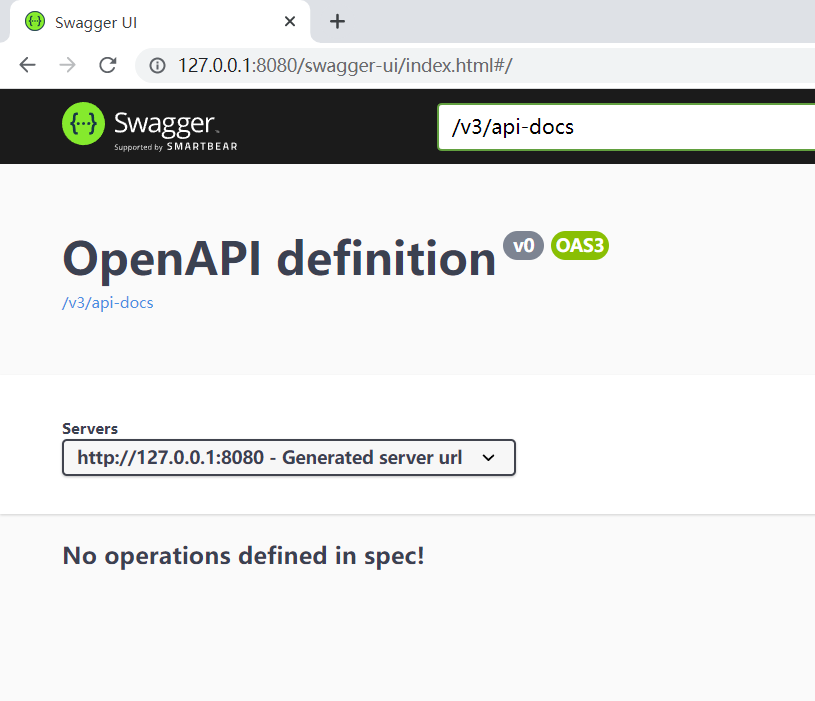
访问http://127.0.0.1:8080/swagger-ui/index.html#/
发现可以访问通了
结合实际项目生成api文档
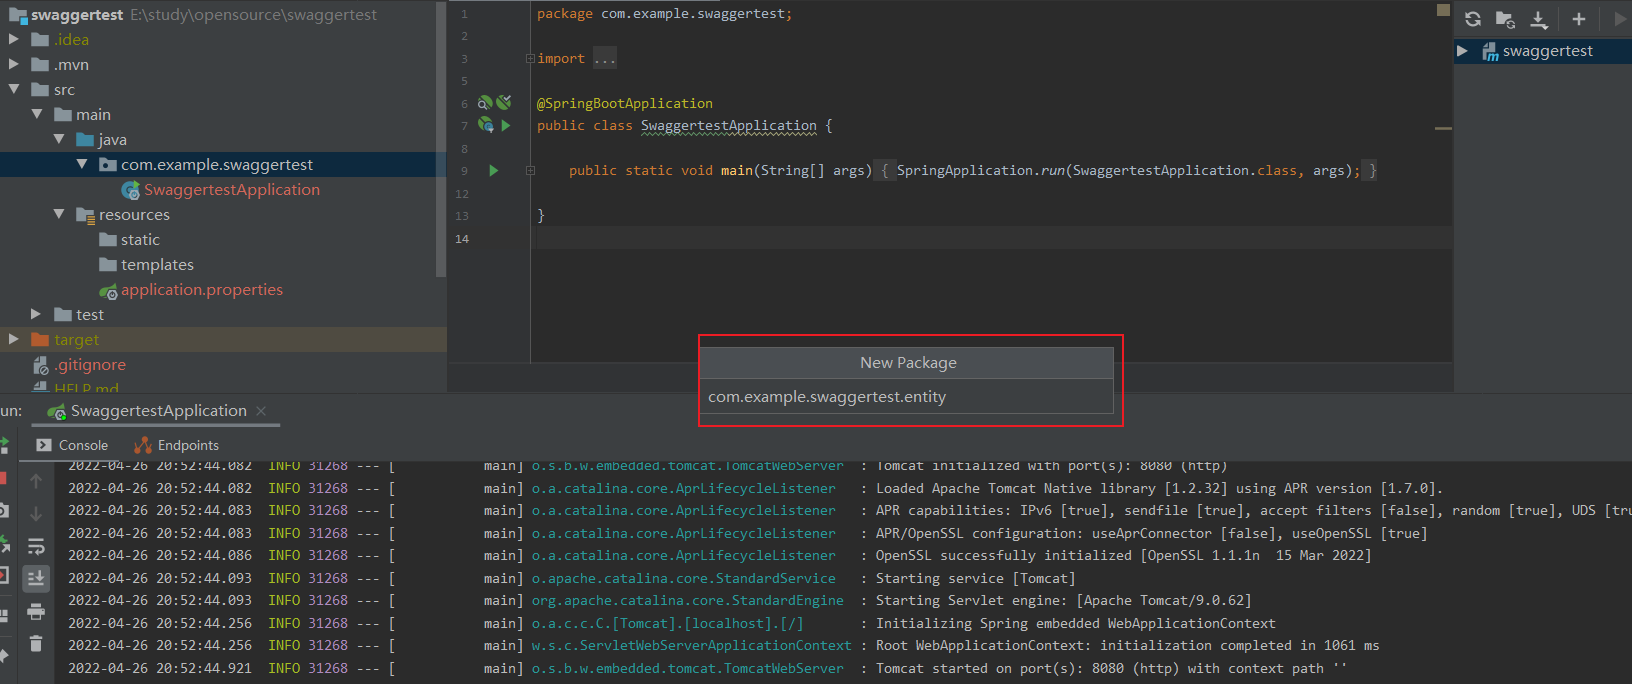
新建一个包

命名为entity
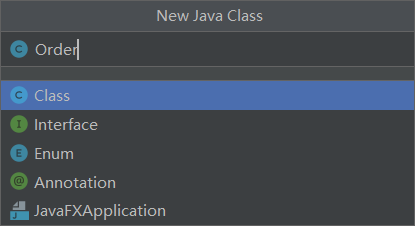
在entity包下,新建Class类
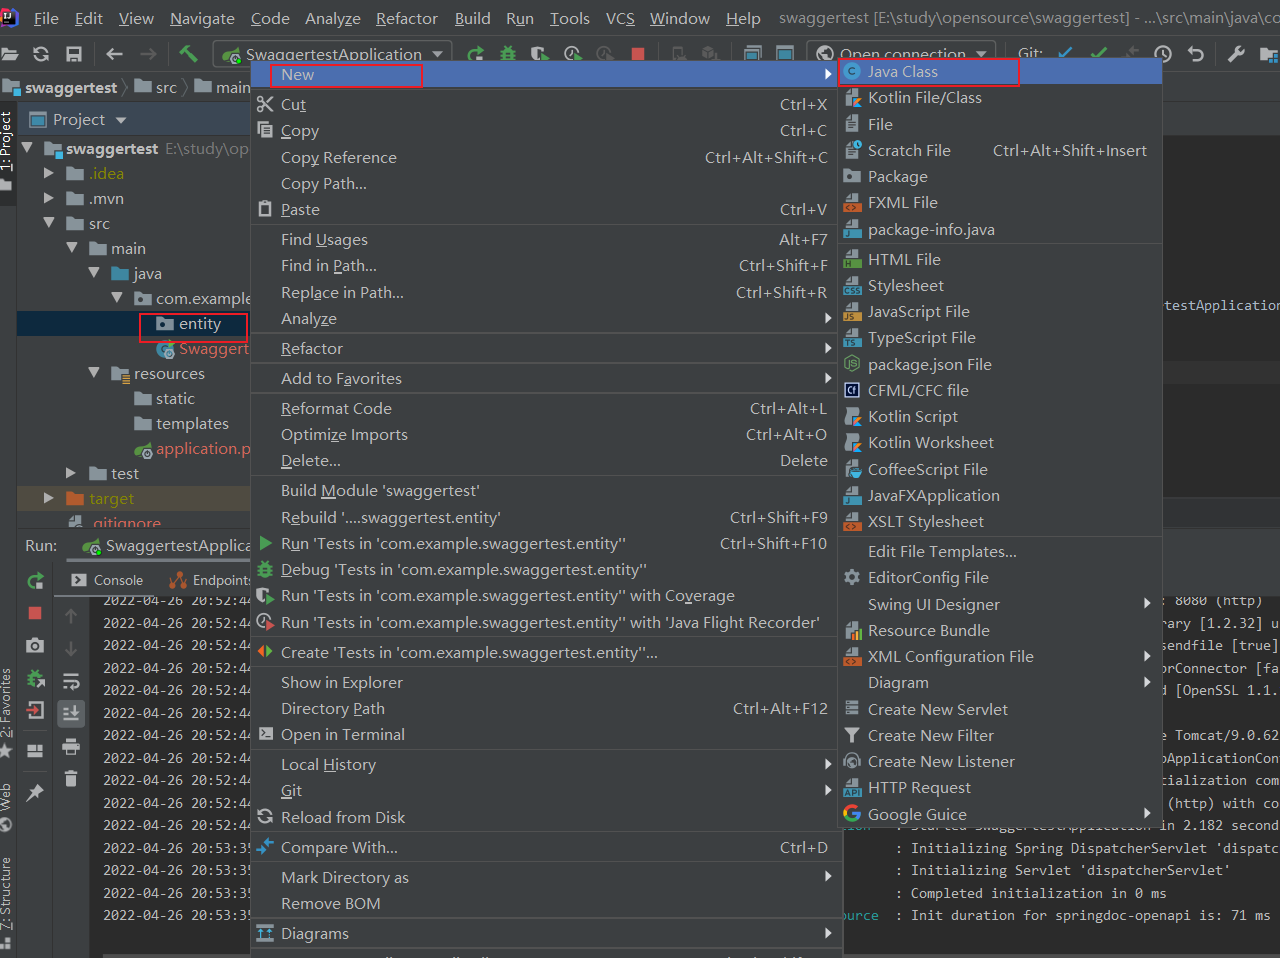
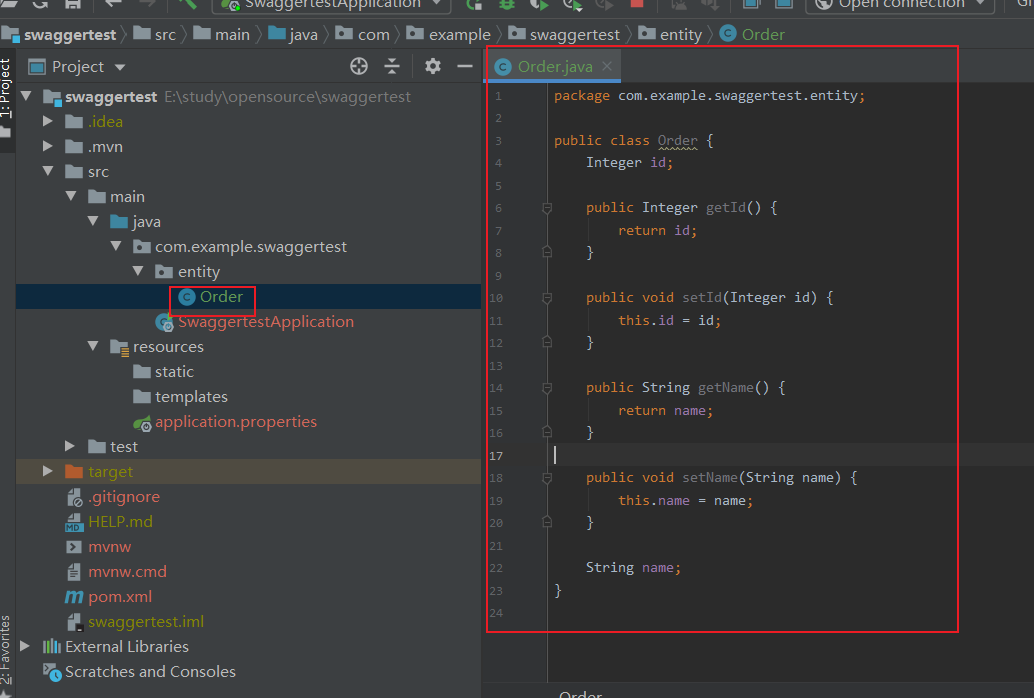
命名为Order
内容为
1 | package com.example.swaggertest.entity; |
新建一个包
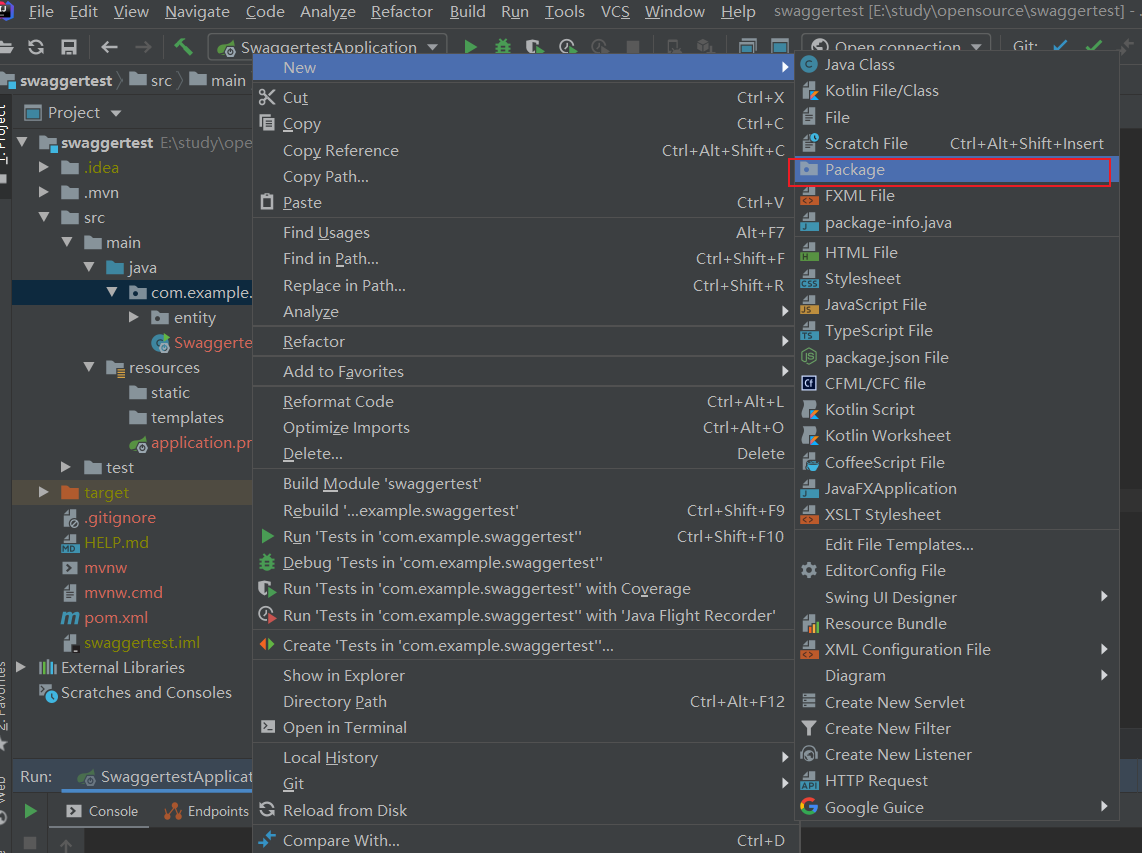
命名为controller

controller下新建类
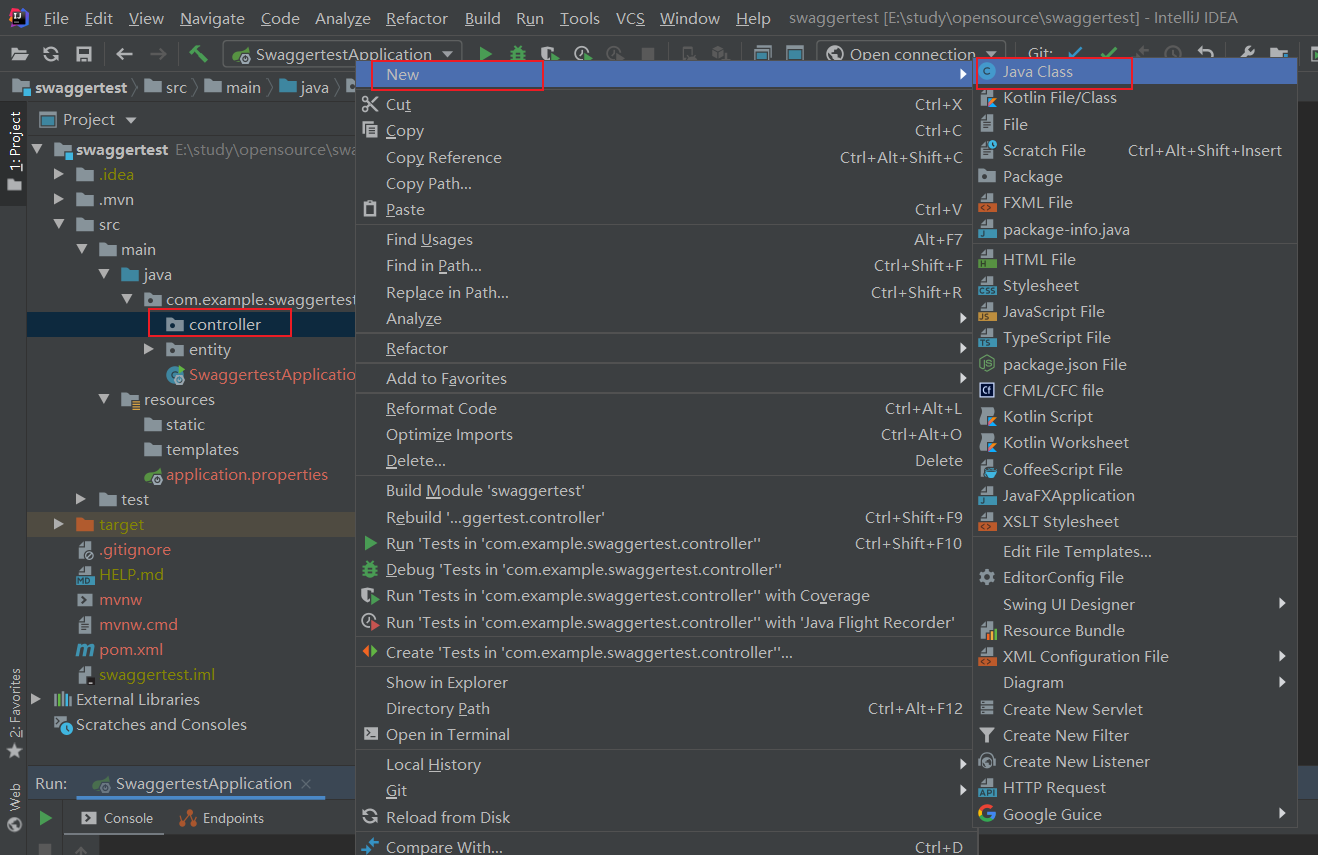
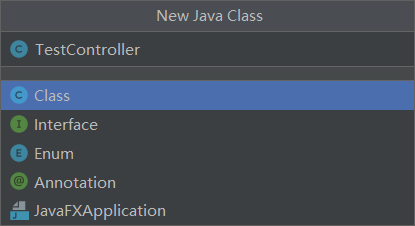
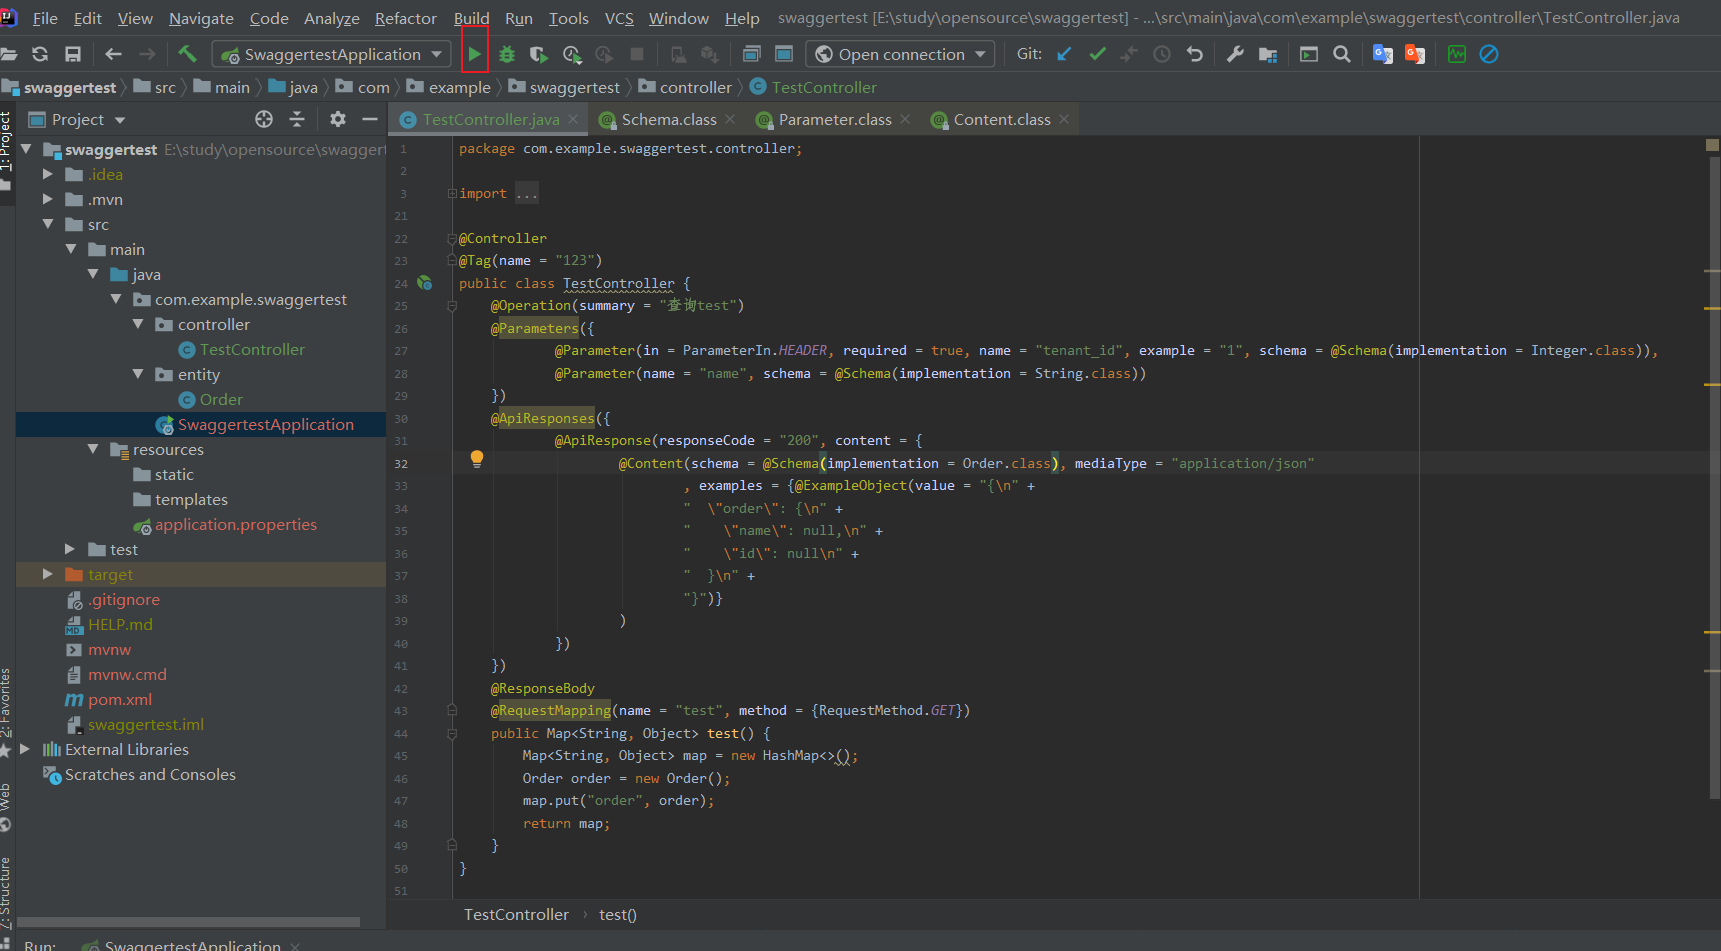
命名为TestController
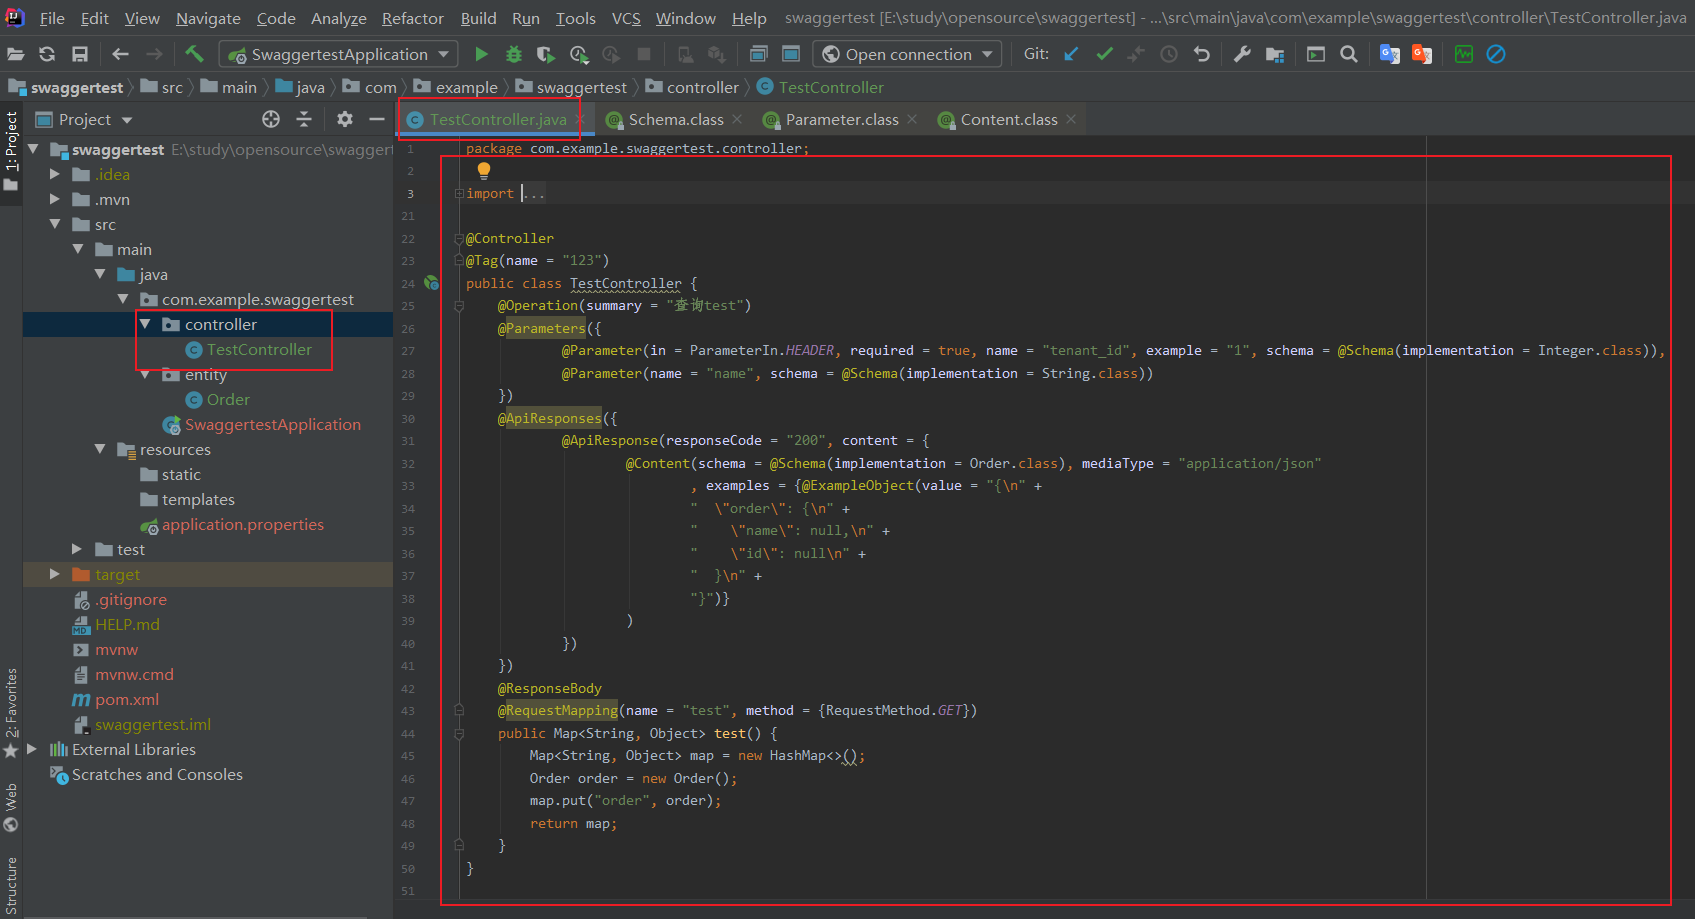
内容为
- Tag是为整个controller打了一个标志
- Parameters为各个输入参数,包括Header头、消息体参数
- ApiResponses为输出参数,包括类型、约束和案例等
1 | package com.example.swaggertest.controller; |
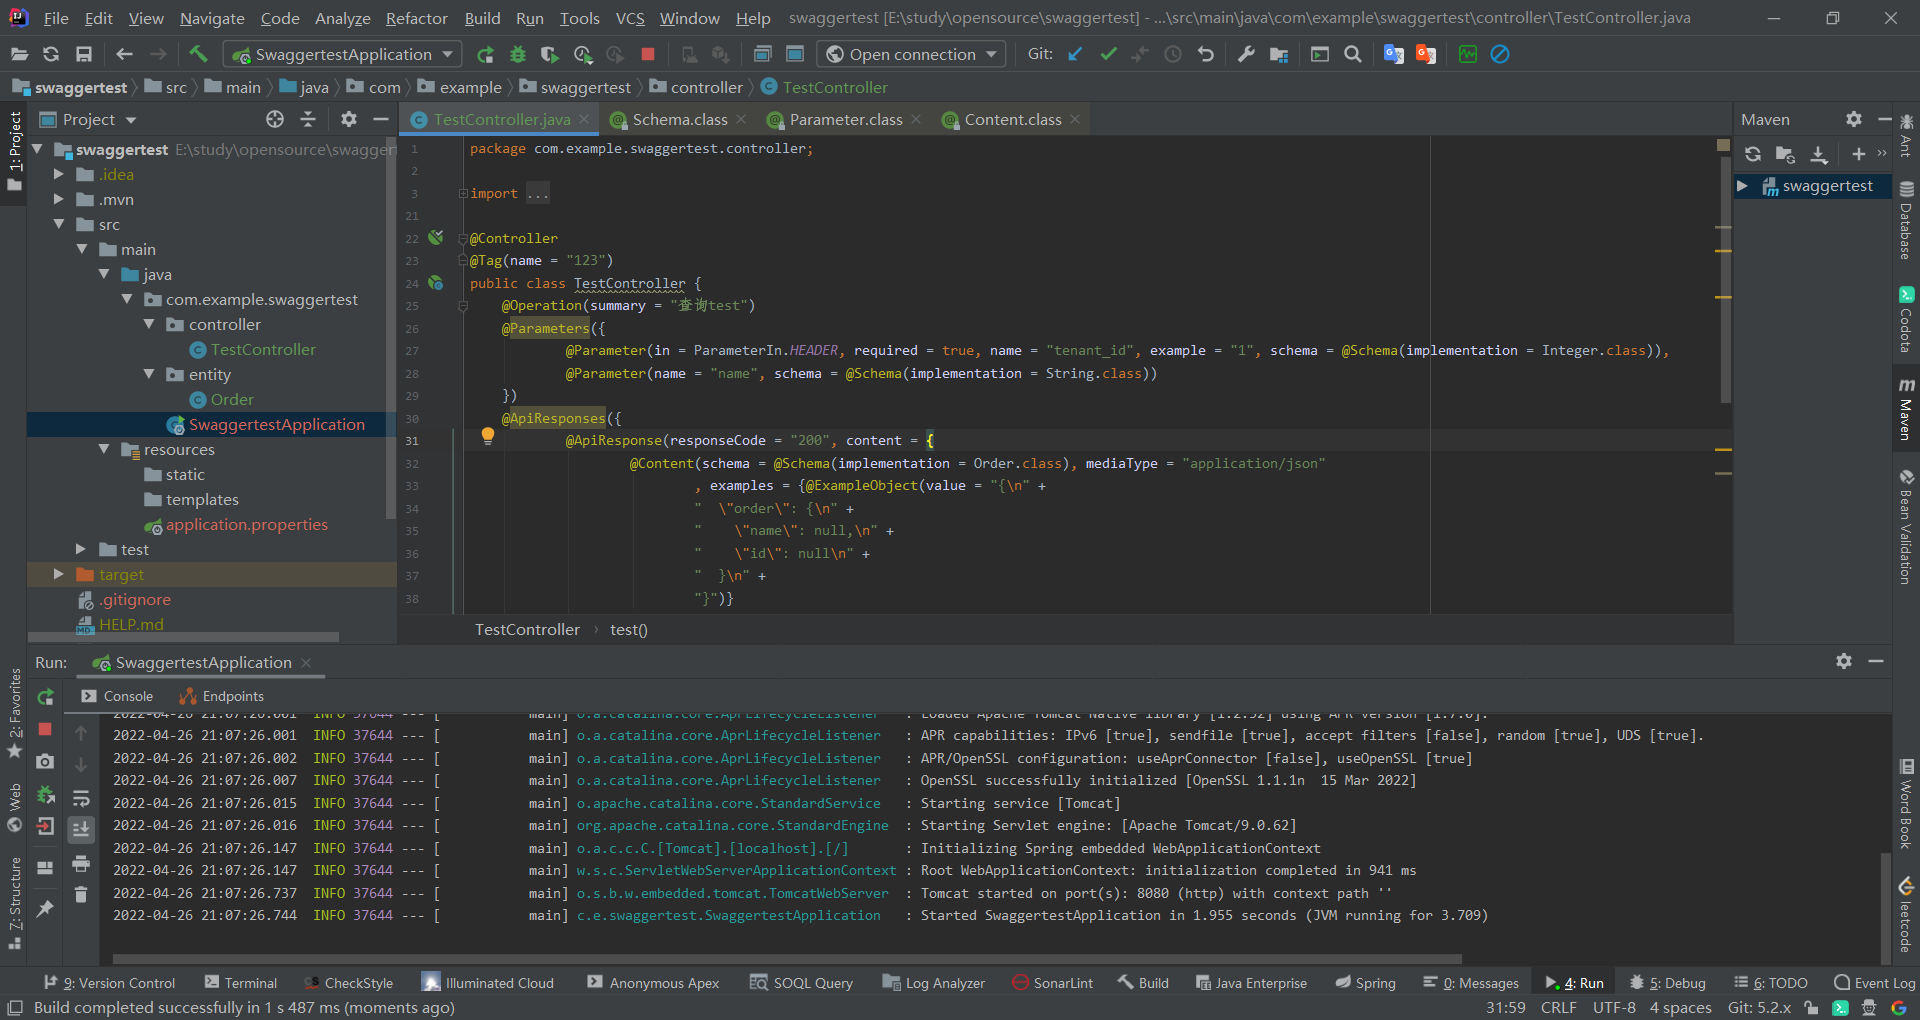
重新启动程序
可以看到启动成功
访问http://127.0.0.1:8080/swagger-ui/index.html#/
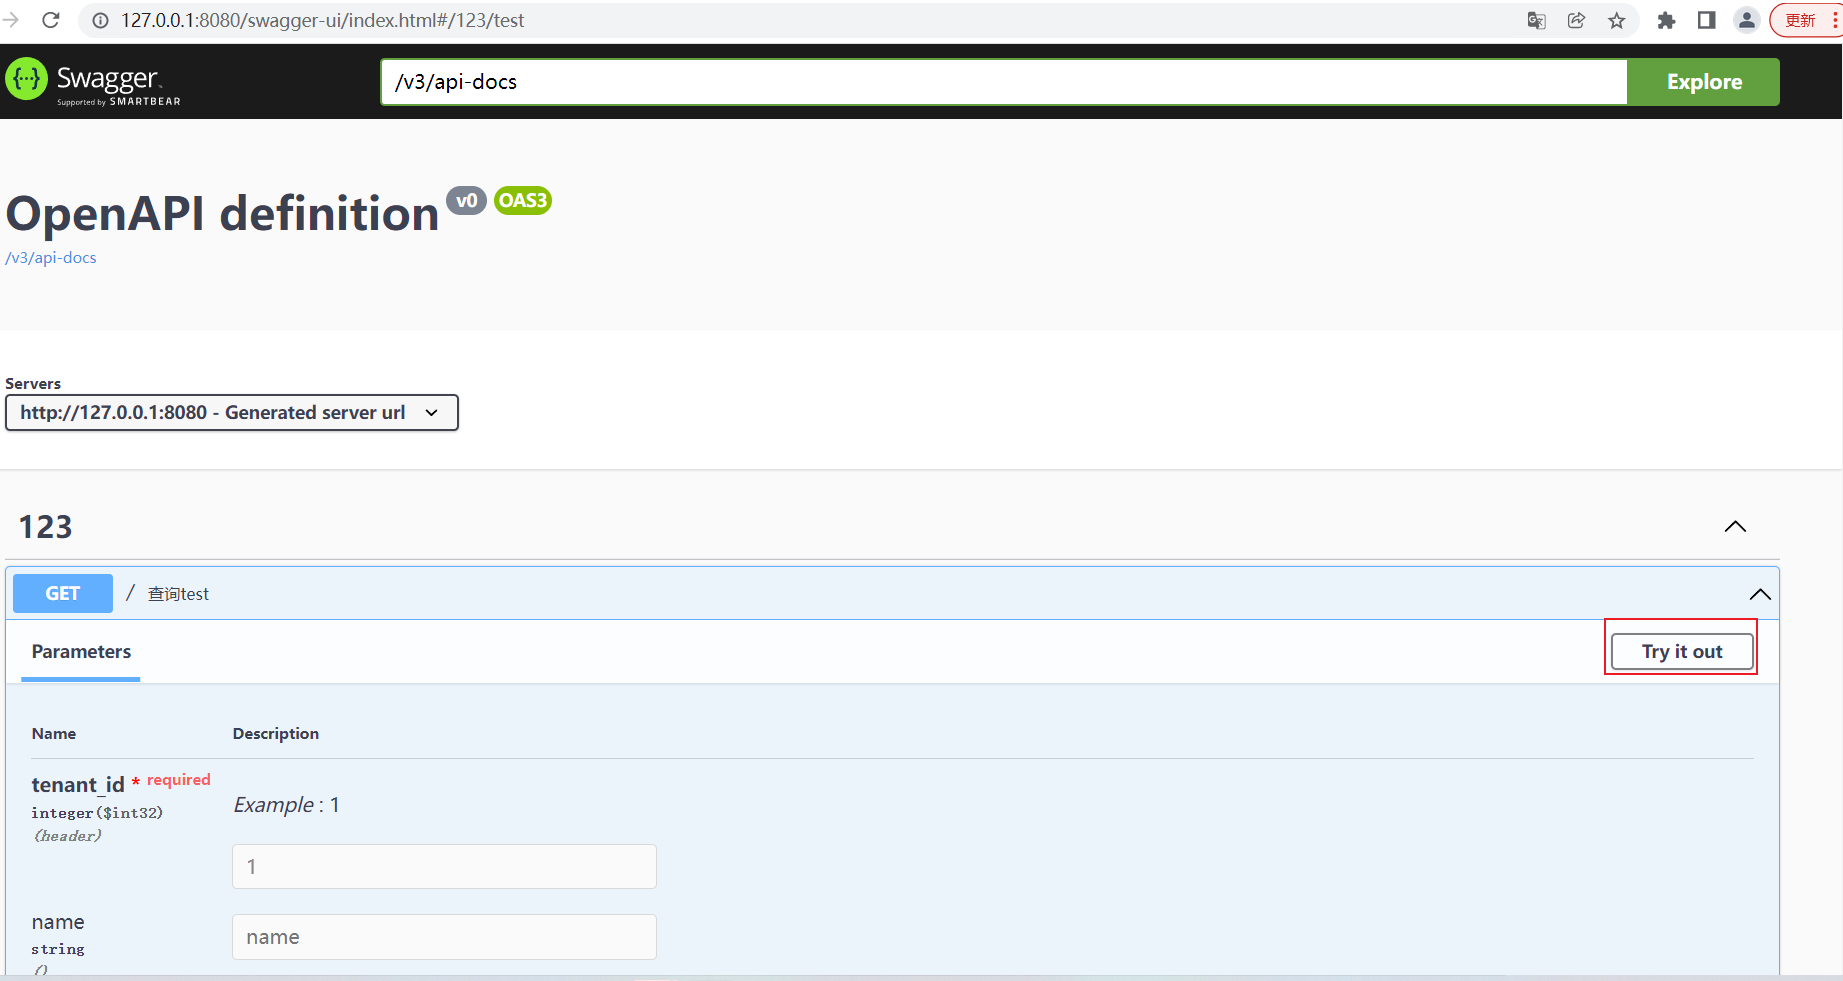
可以看到接口文档创建成功,包含输入和输出
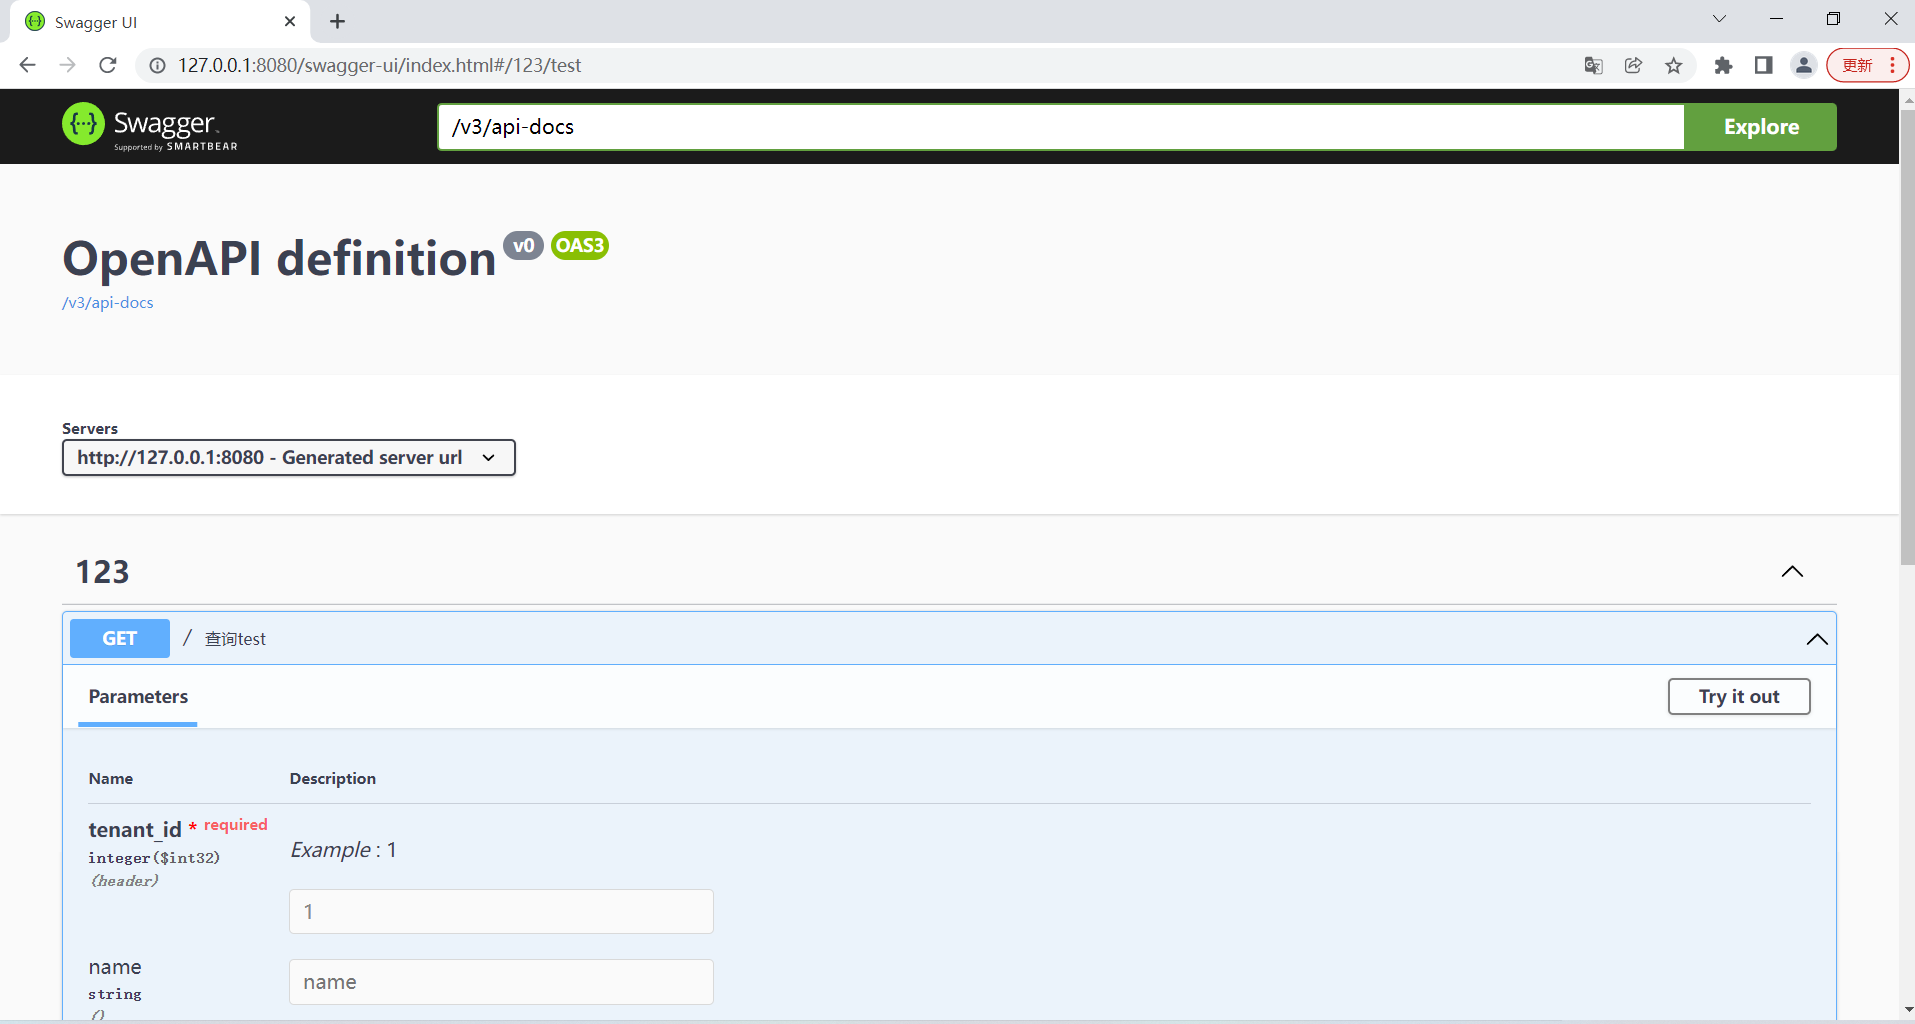
点击Try it out
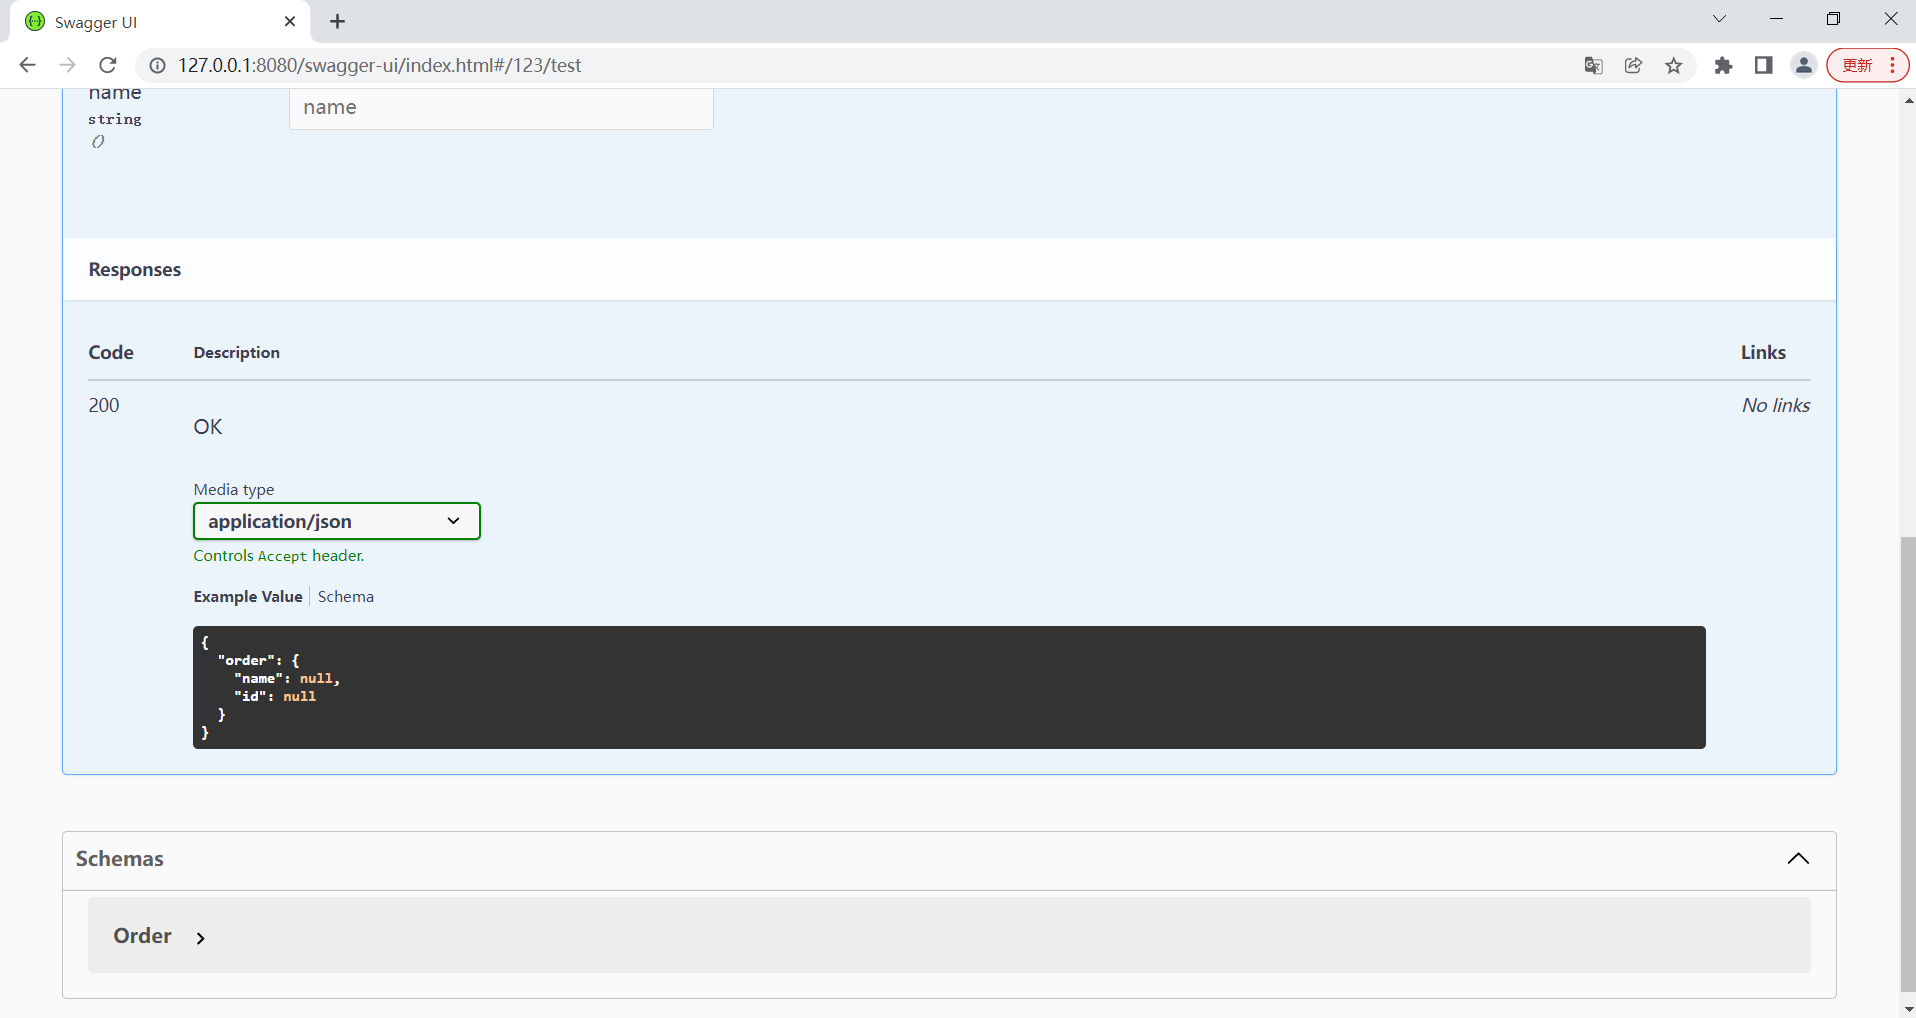
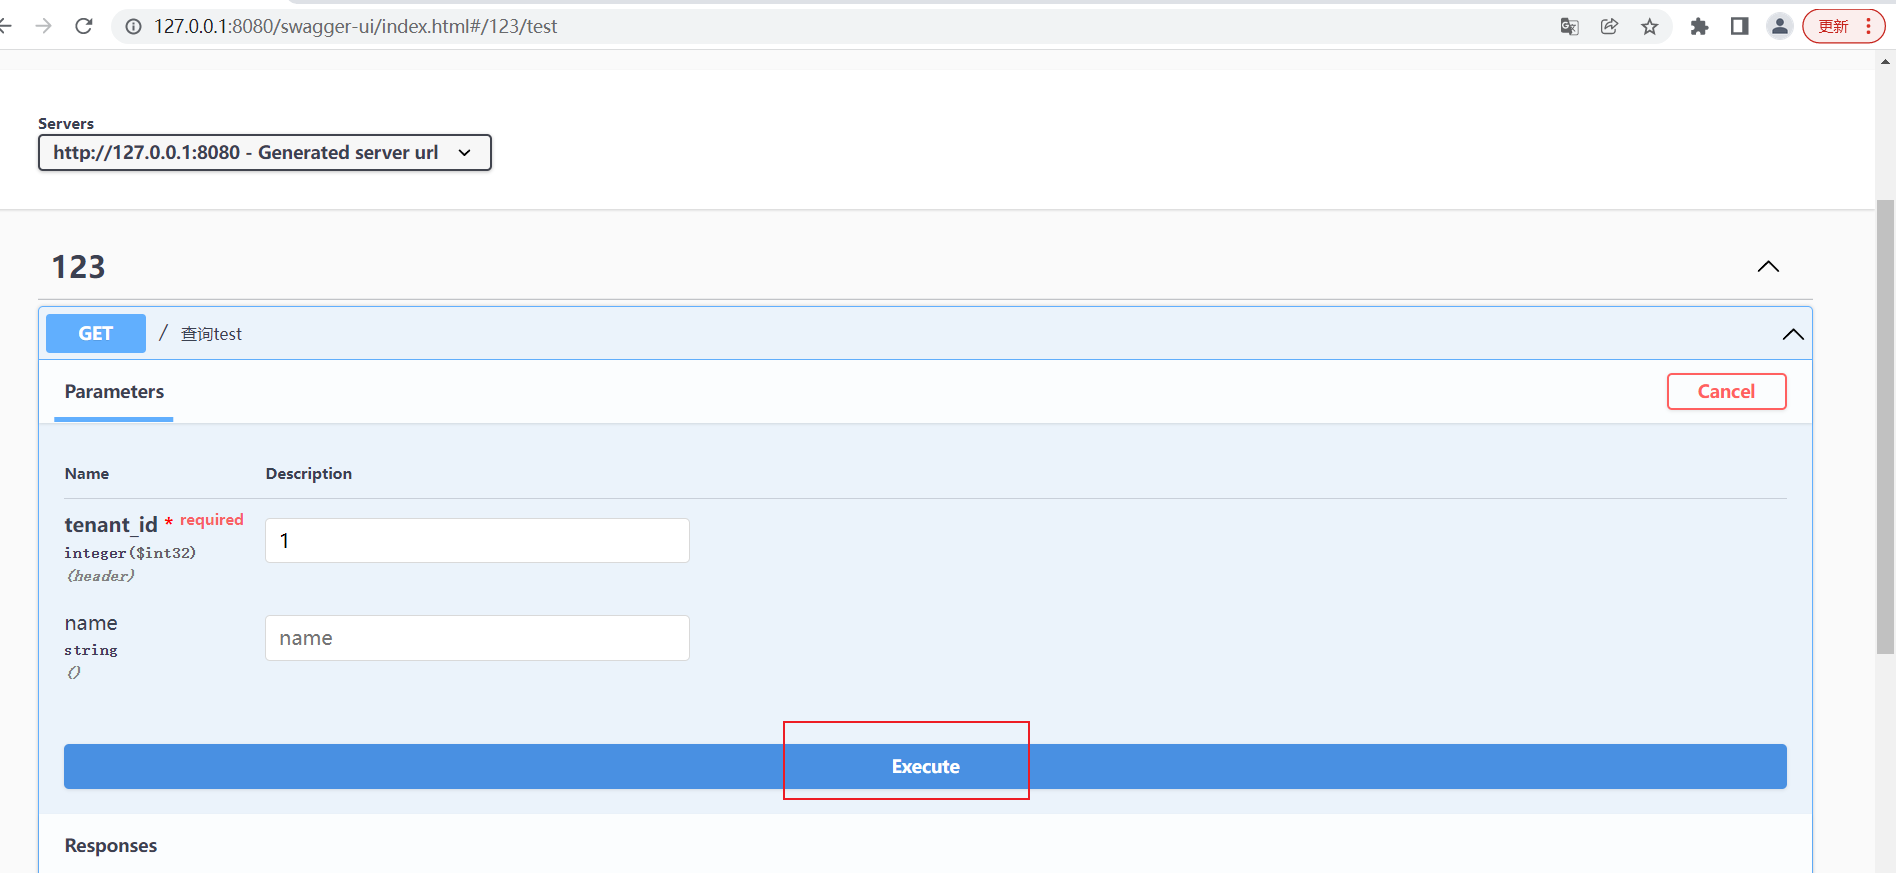
点击执行
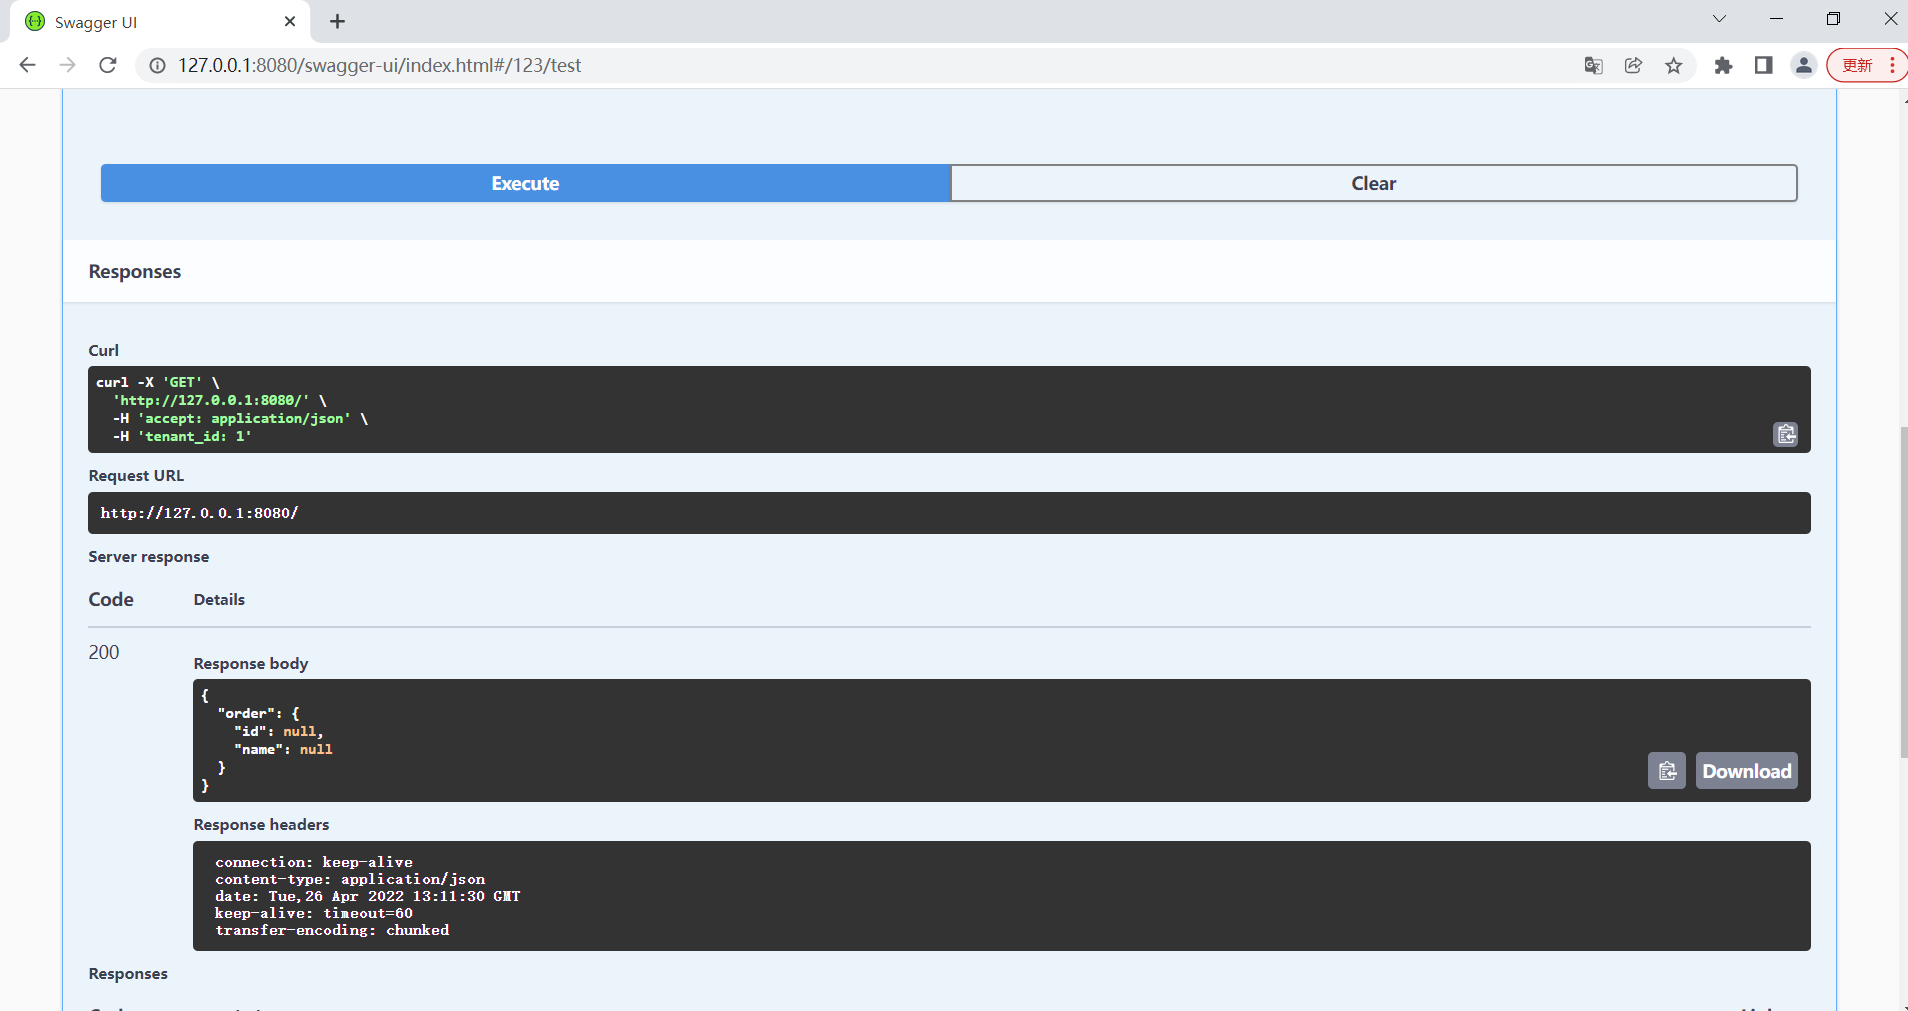
可以看到接口执行成功的结果
总结
至此整个springboot集成Swagger的过程已经完成,更多高级功能可以参考官网文档https://springdoc.org/
例如swagger 2 注解with swagger 3 注解的区别如下等等:
Replace swagger 2 annotations with swagger 3 annotations (it is already included with
springdoc-openapi-uidependency). Package for swagger 3 annotations isio.swagger.v3.oas.annotations.@Api→@Tag@ApiIgnore→@Parameter(hidden = true)or@Operation(hidden = true)or@Hidden@ApiImplicitParam→@Parameter@ApiImplicitParams→@Parameters@ApiModel→@Schema@ApiModelProperty(hidden = true)→@Schema(accessMode = READ_ONLY)@ApiModelProperty→@Schema@ApiOperation(value = "foo", notes = "bar")→@Operation(summary = "foo", description = "bar")@ApiParam→@Parameter@ApiResponse(code = 404, message = "foo")→@ApiResponse(responseCode = "404", description = "foo")